Cream, a color that whispers elegance and warmth, has the power to transform any space into a haven of tranquility. Whether you envision a cozy living room, a serene bedroom, or a bright and airy kitchen, mastering the art of “Cómo Hacer El Color Crema” opens a world of design possibilities. This comprehensive guide will equip you with the knowledge and techniques to confidently create the perfect cream paint for your next project.
Understanding the Nuances of Cream
Before diving into the mixing process, it’s crucial to understand that “cream” isn’t a singular color. It’s a spectrum of subtle variations, each with its unique personality. Imagine a scale ranging from the purest white to the richest brown. Cream resides in the gentle embrace between these two extremes, encompassing a delightful array of warm, inviting hues.
Some popular shades of cream include:
- Ivory: A touch of yellow adds a hint of warmth to this classic cream.
- Alabaster: A subtle grey undertone lends a sophisticated air to alabaster.
- Eggshell: Inspired by its namesake, this off-white cream exudes a soft, comforting vibe.
- Champagne: A delicate pink or peach undertone adds a touch of romance to this elegant cream.
Essential Materials for Mixing Cream Paint
Creating your custom cream paint is surprisingly simple with the right tools and a dash of creativity. Here’s what you’ll need:
- Base Paint: White paint serves as the foundation for your cream concoction. Choose a high-quality white paint in either a matte, eggshell, or satin finish, depending on your desired sheen.
- Tinting Colors: These are the secret ingredients that will transform your white paint into a beautiful cream. You’ll need:
- Yellow Ochre: Adds warmth and richness.
- Red Oxide: Creates depth and complexity.
- Black: Use sparingly to neutralize and darken.
- Mixing Containers: Use separate containers for mixing and adjusting your paint.
- Paint Stirrers: Ensure thorough blending for consistent color.
- Paint Samples: Test your cream concoction on a small area before committing to the entire wall.
Step-by-Step Guide to Mixing Cream Paint
- Start with White: Pour a generous amount of white base paint into your mixing container. This will be your blank canvas.
- Add Yellow Ochre: Introduce a small amount of yellow ochre to your white base. Remember, a little goes a long way! Gradually add more yellow ochre until you achieve the desired level of warmth.
- Incorporate Red Oxide: A touch of red oxide adds depth and complexity to your cream. Start with a minuscule amount and slowly increase until you achieve the desired richness.
- Neutralize with Black (Optional): If your cream feels too bright or vibrant, a tiny drop of black paint can help neutralize and darken the color. Use black very sparingly to avoid muddying your cream.
- Mix Thoroughly: Use a paint stirrer to blend the colors thoroughly until you achieve a consistent, homogenous cream paint.
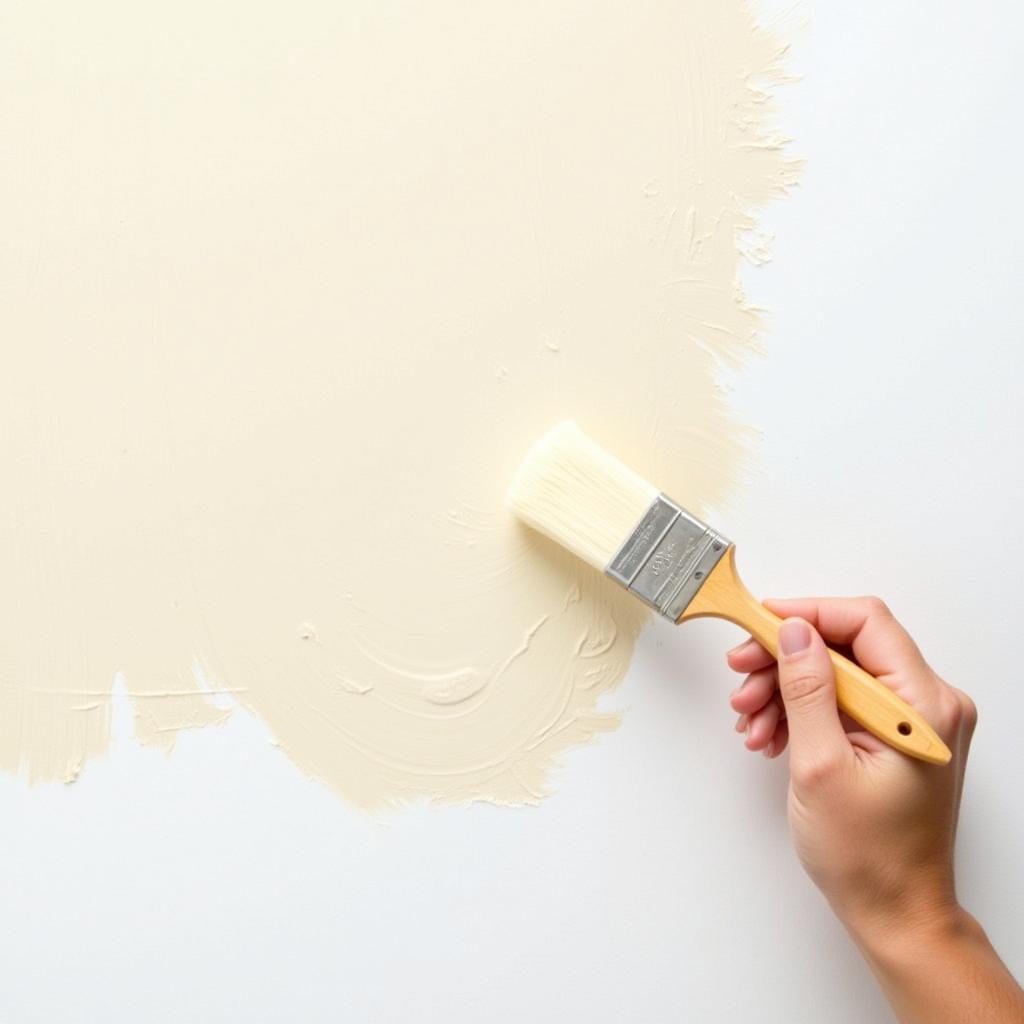 Testing Cream Paint on Wall
Tips for Perfecting Your Cream Paint
- Start Small: Always begin with a small amount of tinting colors and gradually add more until you achieve the desired shade.
- Test on Different Surfaces: The same cream paint can look different depending on the surface and lighting. Test your mixed color on a small, inconspicuous area of your wall to ensure you’re happy with the final result.
- Keep Records: Note down the exact proportions of each color you used to create your perfect cream. This will make it easy to replicate the shade in the future.
Cream: A Versatile Backdrop for Design
Once you’ve mastered the art of “cómo hacer el color crema,” you’ll discover a world of design possibilities.
Pairing Cream with Other Colors:
- Earthy Tones: Combine cream with warm browns, deep greens, and terracotta accents for a natural, grounding feel.
- Pastels: Create a soft, romantic ambiance by pairing cream with blush pink, lavender, or baby blue.
- Bold Hues: Cream provides a sophisticated backdrop for bold accents like navy blue, emerald green, or mustard yellow.
Cream in Different Rooms:
- Living Room: Create a welcoming and cozy atmosphere with warm cream walls, accented with plush textures and natural elements.
- Bedroom: Embrace serenity with calming cream walls, layered with soft linens and ambient lighting.
- Kitchen: Brighten up your culinary space with light, airy cream cabinets and countertops, paired with metallic accents and pops of color.
Conclusion
Creating the perfect cream paint is a journey of experimentation and discovery. By understanding the nuances of color, gathering the right materials, and following these expert tips, you can confidently mix your ideal shade of cream. Remember, “cómo hacer el color crema” is about more than just combining paint; it’s about crafting a space that reflects your unique style and evokes a sense of warmth and serenity.
FAQs
Q1: Can I use acrylic paint to mix with my base paint?
While acrylic paint can technically be mixed with latex paint, it’s not recommended. Acrylic paint dries much faster and may not adhere as well to walls, potentially leading to cracking or peeling over time. It’s best to stick with latex-based tinting colors for optimal results.
Q2: Can I lighten my cream paint if it’s too dark?
Absolutely! If your cream paint turns out darker than desired, simply add more white base paint in small increments until you achieve the desired lightness.
Q3: How do I choose the right cream shade for my room?
Consider the room’s size, natural light, and your desired ambiance. Lighter creams can make small rooms feel larger, while warmer creams create a cozy atmosphere in spacious areas.
Need help finding the perfect cream for your next project? Contact our team at 0373298888, [email protected], or visit us at 86 Cầu Giấy, Hà Nội. We’re available 24/7 to assist you with all your color needs!