Creating smooth transitions between colors is a breeze with InDesign’s powerful gradient tool. Whether you’re designing a website banner, a social media post, or a sophisticated brochure, mastering gradient manipulation can elevate your visual storytelling. This guide will walk you through the ins and outs of changing color gradients in InDesign, empowering you to achieve stunning visual effects.
Understanding Gradients in InDesign
Before diving into the how-to, let’s clarify what gradients are. In essence, a gradient is a gradual blend between two or more colors. InDesign allows you to create both linear and radial gradients, giving you flexibility in your design approach.
- Linear gradients: Transition smoothly from one color to another in a straight line.
- Radial gradients: Flow outward from a central point, creating a circular blend.
Modifying Existing Gradients
InDesign makes it incredibly easy to modify existing gradients, allowing for endless creative possibilities. Here’s how:
- Select your object: Choose the object containing the gradient you want to adjust.
- Open the Gradient panel: Navigate to
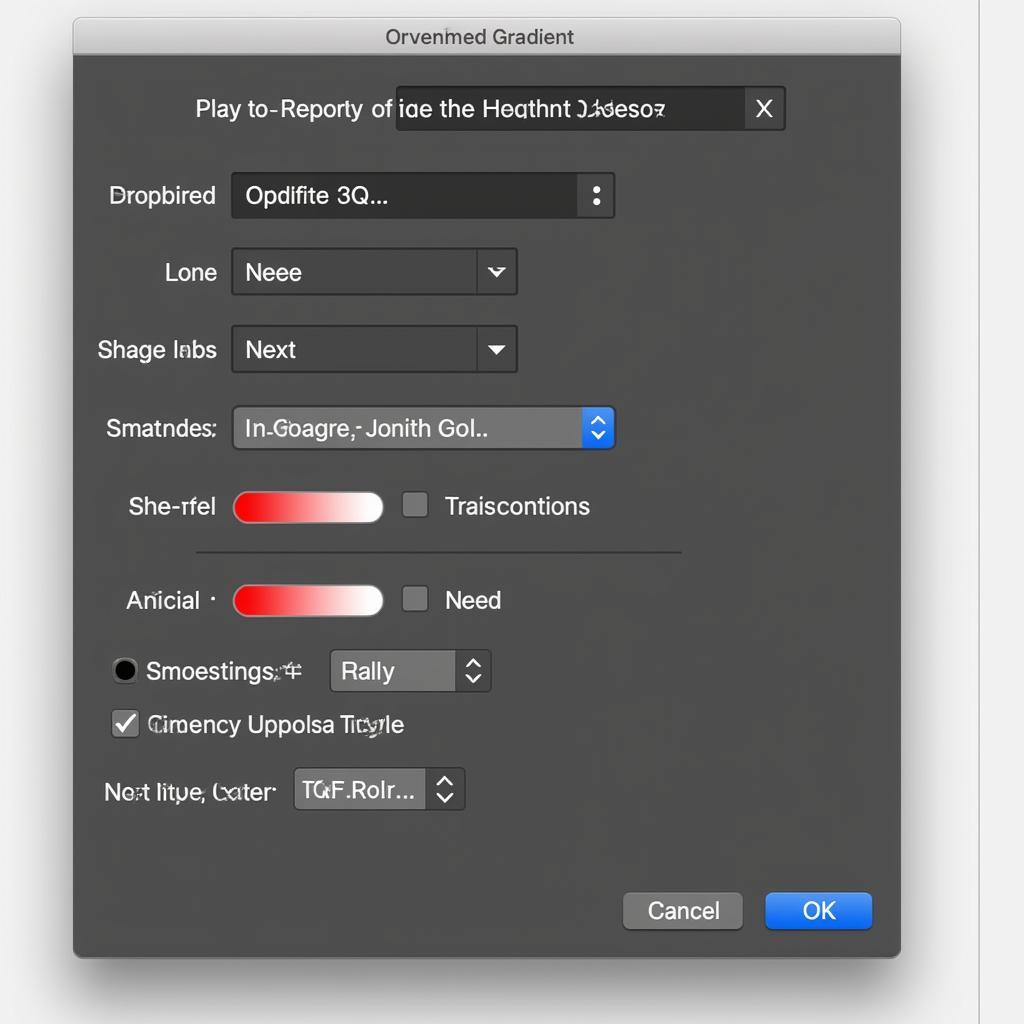
Window > Color > Gradientto bring up the Gradient panel. - Adjust gradient stops: The Gradient panel displays color stops, representing the different colors within your gradient. Click on a stop to select it.
- To change the color of a stop, double-click it and choose your desired hue from the color picker.
- To reposition a stop, simply click and drag it along the gradient slider.
- To add a new stop, click anywhere along the gradient slider.
- To delete a stop, drag it off the slider.
Creating Custom Gradients
Feeling adventurous? InDesign allows you to create completely custom gradients tailored to your specific design vision. Here’s the process:
- Open the Swatches panel: Go to
Window > Color > Swatches. - Create a new gradient swatch: Click the “New Swatch” button at the bottom of the panel and select “Gradient” as the swatch type.
- Name your gradient: Give your custom gradient a descriptive name.
- Define your colors: Follow the steps mentioned earlier to add, remove, reposition, and change the colors of your gradient stops.
Advanced Gradient Techniques
Ready to take your gradient game to the next level? InDesign offers several advanced techniques for fine-tuning your gradients:
- Opacity adjustments: Control the transparency of individual gradient stops to create subtle fades and overlays.
- Gradient feathering: Soften the transition between colors by adjusting the “Smoothness” value in the Gradient panel.
- Gradient angles: For linear gradients, you can define the angle of the color transition.
- Reverse gradient: Instantly flip the direction of your gradient by clicking the “Reverse Gradient” button in the Gradient panel.
 Exploring Advanced Gradient Options in InDesign
Conclusion
Mastering color gradients in InDesign opens up a world of creative possibilities. By understanding the fundamentals of gradient types, manipulation techniques, and advanced settings, you can transform ordinary designs into visually captivating masterpieces. So, go ahead, experiment, and let your creativity flow!
Need help bringing your design vision to life? Contact us at Phone Number: 0373298888, Email: [email protected]. Or visit us at 86 Cầu Giấy, Hà Nội. Our team is available 24/7 to assist you.