Separating colors in Cricut Design Space is a crucial step when you want to create intricate designs with multiple colors of vinyl or other materials. This guide will walk you through the process, ensuring your Cricut projects turn out vibrant and professional-looking.
 Separating Colors in Cricut Design Space
Understanding Layers and Colors
Before diving into the separation process, it’s important to grasp the concept of layers in Cricut Design Space. Imagine layers as transparent sheets stacked on top of each other. Each layer can hold a different element of your design, and assigning different colors to these layers is what allows your Cricut machine to cut each color separately.
Step-by-Step Guide to Separating Colors
Follow these steps to effectively separate colors in Cricut Design Space:
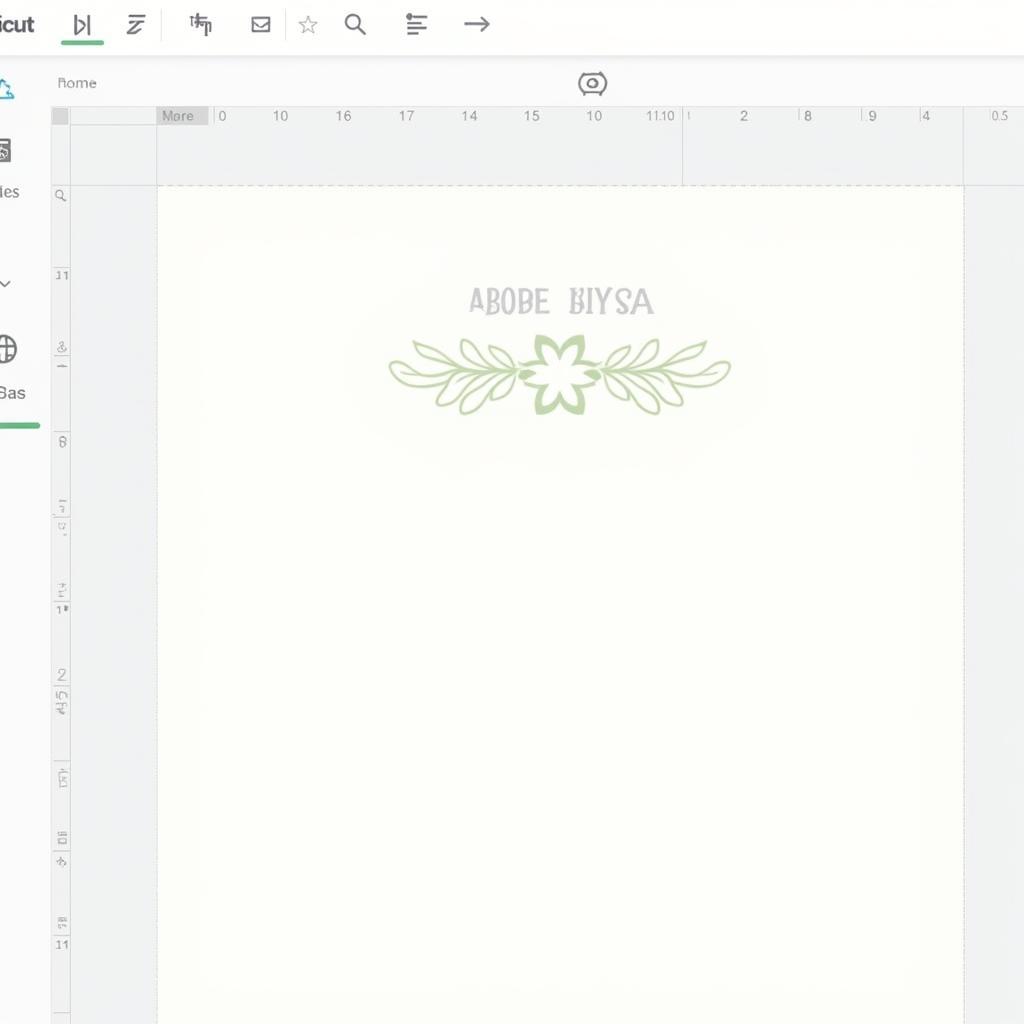
- Upload or Create Your Design: Start by importing your desired design into Cricut Design Space. You can either upload your own file or choose from the vast library of images and fonts available.
- Ungroup if Necessary: If your design consists of grouped elements, ungroup them to manipulate individual parts. To ungroup, select the grouped design and click “Ungroup” in the top menu or right-click and choose “Ungroup.”
- Separate Elements by Color: Carefully examine your design and identify the elements that need different colors. Select an element and use the color palette at the bottom of the screen to assign your desired color. Repeat this for all elements.
- Attach Layers for Cutting: Once you’ve assigned colors, you need to “Attach” the layers to ensure they cut in the correct order and position. Select all the elements you want to cut together (for example, all the red elements), right-click, and select “Attach.”
- Repeat for Other Colors: Repeat the process of selecting, coloring, and attaching for all the different color sections in your design.
Tips for Successful Color Separation
Here are some additional tips to enhance your color separation process:
- Zoom In: Enlarge your design for better visibility, especially when working with intricate details.
- Use the “Contour” Tool: If you need to remove parts of a layer or create cut-outs, the “Contour” tool can be incredibly useful.
- Weld for Seamless Designs: When working with text or elements that need to be connected, use the “Weld” tool to merge them into a single layer for a clean cut.
“Separating colors in Cricut Design Space might seem daunting at first, but with a little practice, it becomes second nature,” says Sarah Williams, a Cricut expert and crafting enthusiast. “Remember to take your time, double-check your layers, and don’t be afraid to experiment!”
Conclusion
Mastering color separation in Cricut Design Space opens a world of creative possibilities. By following these simple steps, you’ll be well on your way to creating stunning multi-colored Cricut projects. Remember, practice makes perfect, so keep experimenting and exploring the full potential of your Cricut machine.
Need help with your Cricut projects? Contact us! Phone Number: 0373298888, Email: [email protected]. Or visit us at 86 Cầu Giấy, Hà Nội. Our customer support team is available 24/7.