Dyeing a shirt to a tan color is a fun and creative way to revamp your wardrobe or breathe new life into an old garment. Whether you’re aiming for a light sandy hue or a richer, more earthy tone, achieving the perfect tan requires the right techniques and a little bit of patience. This comprehensive guide will walk you through the entire process, from choosing the right dye to setting the color for lasting results.
Before we jump into the dyeing process, it’s crucial to gather the necessary materials and prepare your workspace. Having everything ready ensures a smoother dyeing experience and helps prevent any mishaps along the way.
Preparing for the Dyeing Process
Choosing the Right Dye
The first step is selecting a dye that is suitable for the fabric of your shirt.
- All-purpose dyes: These are versatile and work well on a variety of fabrics, including cotton, linen, and rayon.
- Natural dyes: If you prefer a more eco-friendly option, natural dyes derived from plants like tea, coffee, or walnut shells can create beautiful tan shades.
- Fiber reactive dyes: For a more vibrant and long-lasting tan, fiber reactive dyes are an excellent choice, especially for natural fabrics like cotton.
Pro Tip from Emily Carter, Textile Artist: “Always check the dye manufacturer’s instructions for fiber compatibility and recommended dye amounts to ensure optimal results for your specific fabric.”
Gathering Your Materials
Once you’ve chosen your dye, gather the following materials:
- Rubber gloves
- Dust mask
- Plastic bucket or container
- Large stainless steel pot
- Tongs
- Measuring cups and spoons
- White vinegar
- Salt
- Rubber bands (optional)
- Old towels or drop cloths to protect your work surface
- The shirt you wish to dye (pre-washed)
Dyeing Your Shirt Tan: A Step-by-Step Guide
1. Prepare Your Workspace
Protect your work area from potential spills and stains by covering it with old towels or drop cloths. Wear rubber gloves and a dust mask to avoid skin contact with the dye and to protect yourself from inhaling any fumes.
2. Prepare the Dye Bath
Fill your stainless steel pot with enough water to completely submerge your shirt. Follow the dye manufacturer’s instructions for the correct water-to-dye ratio.
Pro Tip: Adding salt to the dye bath helps promote even color absorption.
3. Soak the Shirt
Soak your pre-washed shirt in a separate container filled with warm water for about 30 minutes. This helps ensure the fabric is thoroughly saturated and will accept the dye evenly.
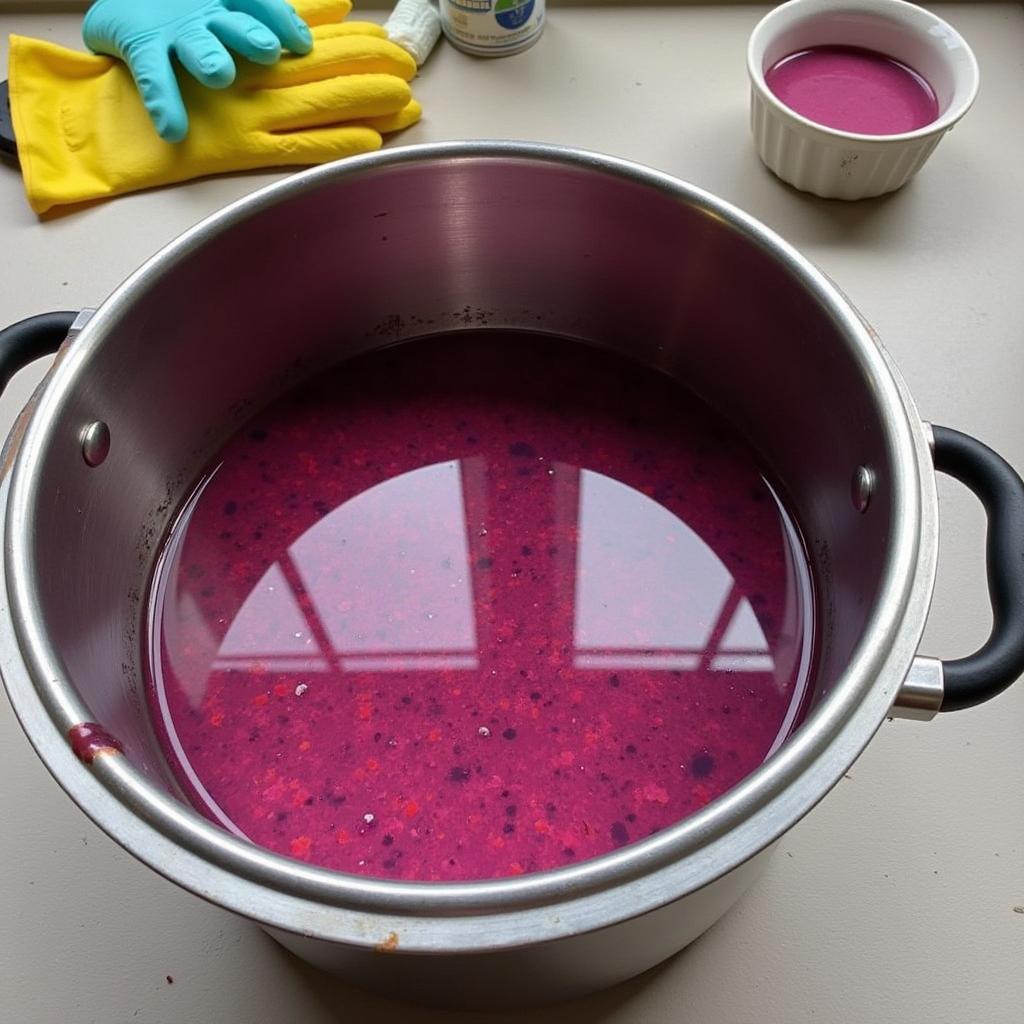 Preparing the dye bath
4. Add the Dye
While wearing gloves, carefully pour the dye powder or liquid into the dye bath. Stir the dye bath thoroughly to ensure the color is evenly distributed.
5. Test the Color
Before dyeing your entire shirt, it’s a good idea to test the dye color on a scrap piece of fabric or an inconspicuous area of the shirt. This allows you to make any necessary adjustments to the dye bath concentration to achieve your desired shade of tan.
6. Dye the Shirt
Carefully submerge the wet shirt into the dye bath. Use tongs to move the shirt around gently, ensuring all parts of the fabric are submerged and evenly exposed to the dye.
For a Tie-Dye Effect: Twist, bunch, or fold your shirt and secure it with rubber bands before submerging it in the dye bath. This will create unique patterns and variations in the tan color.
7. Simmer and Soak
Bring the dye bath to a simmer over medium heat, avoiding a full boil. Allow the shirt to simmer in the dye bath for the amount of time specified in the dye manufacturer’s instructions. This usually takes around 30-60 minutes.
Important Note: The longer you leave the shirt in the dye bath, the darker the tan color will become.
8. Rinse and Wash
Once the desired color is achieved, carefully remove the shirt from the dye bath using tongs. Rinse the shirt thoroughly under cool running water until the water runs clear. Wash the dyed shirt separately in cold water with a mild detergent.
9. Set the Color
To help set the dye and prevent color bleeding, soak the rinsed shirt in a solution of cold water and white vinegar for about 30 minutes. Rinse the shirt again with cold water.
10. Dry and Enjoy
Finally, hang your newly dyed tan shirt to dry out of direct sunlight. Once dry, your unique and stylish garment is ready to wear!
Troubleshooting and Tips
- Uneven color: If you notice any unevenness in the tan color, try re-dyeing the shirt following the same steps.
- Dye stains on hands: To remove dye stains from your hands, try using a mixture of baking soda and water or a mild soap specifically designed for removing dye.
- Color fading: To minimize color fading, wash your dyed shirt inside out in cold water with a mild detergent. Avoid using harsh bleach or fabric softeners.
Conclusion
Dyeing a shirt to a tan color is a rewarding process that allows you to express your creativity and achieve a custom look. By following these detailed steps and paying attention to detail, you can achieve professional-looking results right at home. Remember to always prioritize safety by wearing protective gear and working in a well-ventilated area. So go ahead, grab your supplies, and transform your wardrobe with the warm and versatile hues of tan!
If you need further assistance or have any questions about dyeing your shirt or other fabric projects, feel free to reach out to us! Our team at Color Box Hà Nội is always happy to help. Contact us at Phone Number: 0373298888, Email: [email protected], or visit us at 86 Cầu Giấy, Hà Nội. We have a 24/7 customer service team ready to assist you.