Changing text color in Adobe InDesign is a fundamental skill for creating visually appealing and professional designs. Whether you’re a seasoned designer or just starting, mastering this simple task can significantly elevate your layouts. This guide will walk you through different ways to change text color in InDesign, empowering you to achieve the exact look you envision.
Selecting the Text
Before diving into color changes, you first need to select the text you want to modify. InDesign offers multiple ways to do this:
- Click and Drag: Click and drag your cursor over the desired text to highlight it.
- Double-Click: Double-click within a word to select it entirely.
- Triple-Click: Triple-click within a paragraph to select the whole paragraph.
- Click and Shift-Click: Click at the beginning of the text you want to select, then hold down the Shift key and click at the end of the selection.
Changing Text Color Using the Swatches Panel
The Swatches panel is your go-to destination for managing colors in InDesign. Here’s how to use it to change text color:
- Open the Swatches Panel: Navigate to
Window > Color > Swatchesor use the shortcutF5. - Select the Text: Choose the text you want to color using any of the selection methods mentioned earlier.
- Choose a Color: Click on any color swatch in the panel to apply it to your selected text.
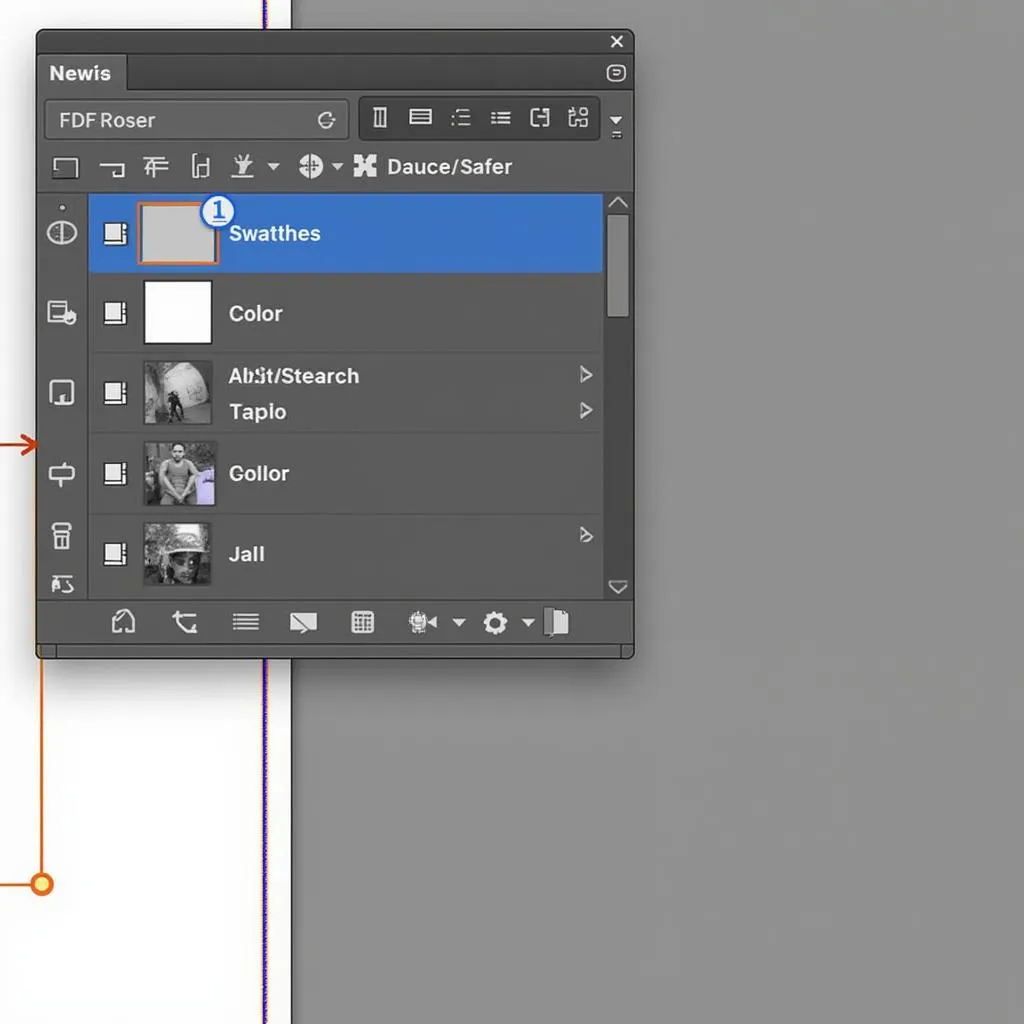 InDesign Swatches Panel
Changing Text Color Using the Control Panel
The Control panel offers a quick and convenient way to change text color without leaving your current workspace.
- Select Your Text: Select the text you wish to modify.
- Access the Fill Color: In the Control panel located at the top of the screen, you’ll find a box labeled “Fill.” This box displays the current fill color of your selected text.
- Choose a New Color: Click on the Fill Color box to open the color picker dialog box. Select your desired color and click “OK.”
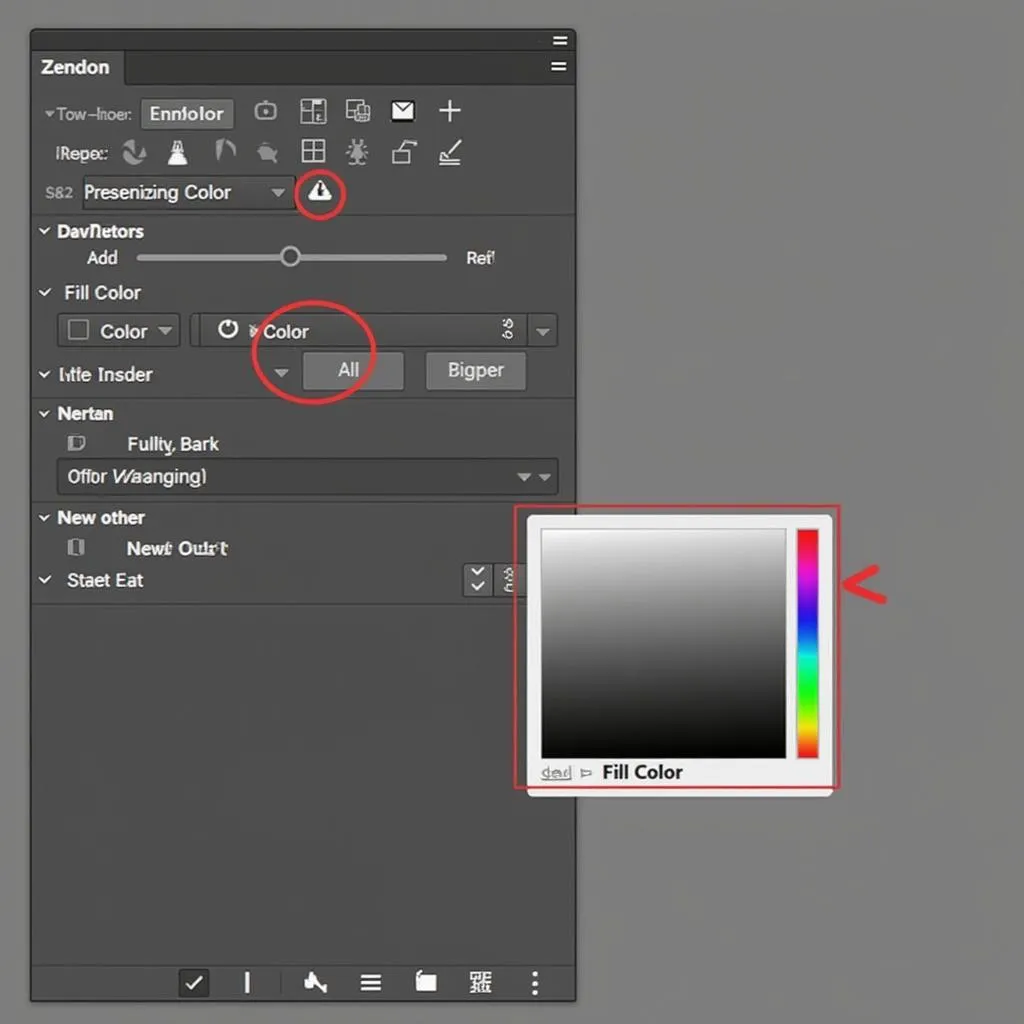 InDesign Control Panel
Using Color Picker for Custom Colors
Both the Swatches panel and Control panel allow you to access the color picker dialog box, providing you with a vast spectrum of color options.
- Open the Color Picker: Access the color picker by clicking on the Fill Color box in either the Swatches panel or the Control panel.
- Explore Color Models: The color picker offers various color models like CMYK, RGB, Lab, and HSB. Choose the model that best suits your project needs.
- Input Color Values: For precise color matching, you can directly input specific color values.
- Save to Swatches: Once you’ve crafted your perfect color, save it to your Swatches panel for easy access and future use.
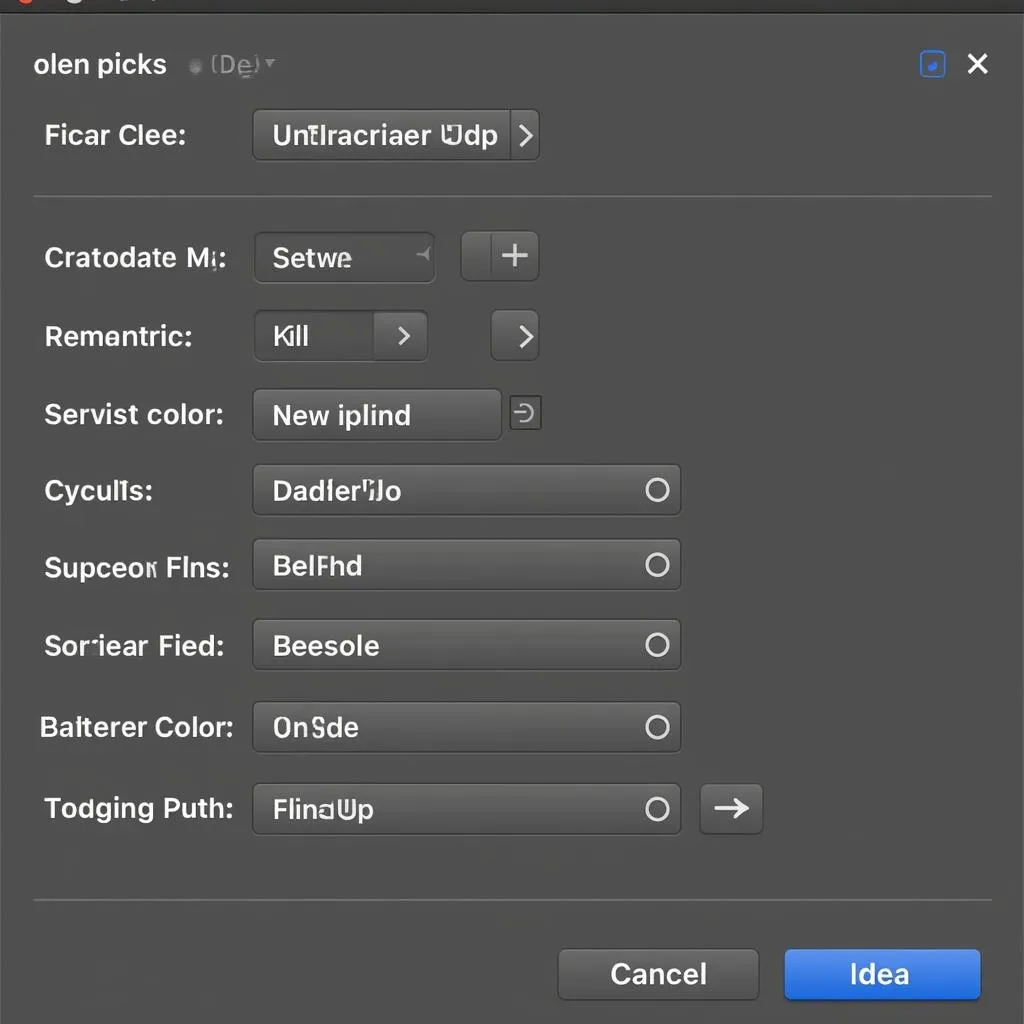 InDesign Color Picker
Conclusion
Changing text color in InDesign is a simple yet crucial step in achieving professional-looking designs. Whether you prefer the versatility of the Swatches panel or the convenience of the Control panel, InDesign offers intuitive tools to bring your creative vision to life. Remember to experiment with different color combinations and explore the wide range of color options available to create visually captivating and engaging designs.
FAQs
Can I apply multiple colors to a single text frame?
Yes, you can apply different colors to individual characters or words within a single text frame. Simply select the specific text portion and follow the steps outlined above to change its color.
How do I create a gradient text effect?
InDesign allows you to apply gradients to text. Select the text and access the Gradient panel to customize your gradient.
For further assistance on mastering InDesign and creating stunning designs, explore our other helpful articles:
Contact us at 0373298888 or [email protected] or visit us at 86 Cầu Giấy, Hà Nội for all your design inquiries. Our team is available 24/7 to help you unlock the full potential of color in your creative projects.