Coloring lineart in Clip Studio Paint is an enjoyable and rewarding way to bring your digital illustrations to life. Whether you’re a seasoned artist or just starting, Clip Studio Paint offers a range of tools and techniques to make coloring lineart efficient and fun. This guide will walk you through the essential steps and provide valuable tips to help you master the art of coloring lineart in Clip Studio Paint.
Preparing Your Lineart
Before diving into the world of colors, it’s crucial to ensure your lineart is prepped and ready for coloring. This involves a few key steps:
-
Clean Lineart: Start by checking your lineart for any gaps, stray marks, or inconsistencies. Use the eraser tool to clean up any imperfections and ensure your lines are smooth and well-defined.
-
Separate Lineart Layer: Always keep your lineart on a separate layer from your colors. This not only keeps your work organized but also allows for greater flexibility during the coloring process.
-
Line Weight and Style: Consider the overall style and mood you want to achieve with your illustration. Adjust the line weight and style accordingly. Thicker lines can convey boldness, while thinner lines create a more delicate feel.
Choosing Your Colors
Selecting the right color palette can make or break your illustration. Here’s how to choose colors that enhance your artwork:
-
Color Theory Basics: Familiarize yourself with basic color theory concepts like the color wheel, complementary colors, and color harmony. Understanding these principles will help you create visually appealing and harmonious color schemes.
-
Inspiration and References: Look for inspiration in real life, photographs, or artwork you admire. Gather color palettes that resonate with you and align with the mood you want to convey.
-
Experiment and Adjust: Don’t be afraid to experiment with different color combinations. Create multiple color palettes and test them out on your lineart to see what works best.
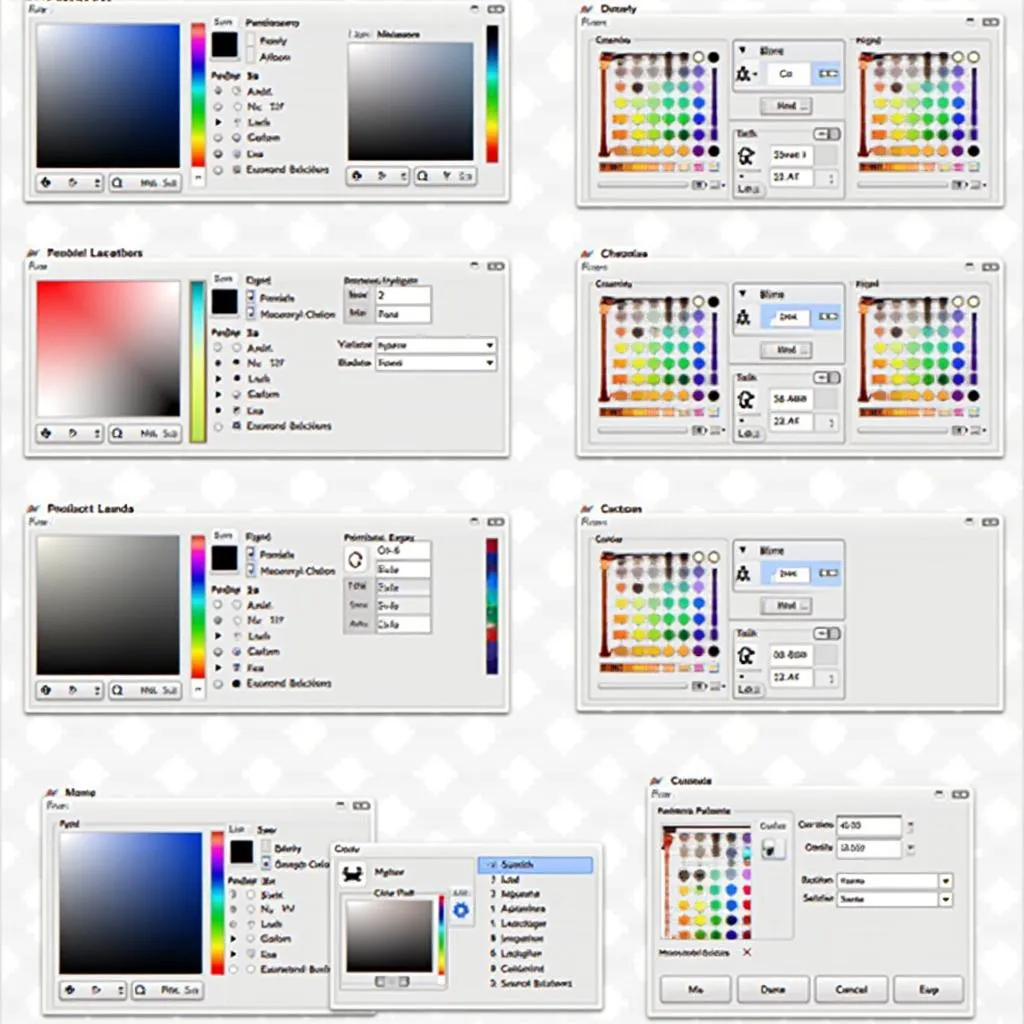 Exploring Color Palettes in Clip Studio Paint
Filling In Your Lineart
Clip Studio Paint offers several tools to efficiently fill in your lineart with color. Here are some popular options:
-
Fill Tool: The most straightforward method, the fill tool allows you to quickly fill enclosed areas with your chosen color. Adjust the tool’s settings to control its sensitivity and fill areas with gaps.
-
Brush Tool: For more control and precision, opt for the brush tool. Select a hard-edged brush for clean fills or experiment with textured brushes for unique effects.
-
Selection Tools: Use selection tools like the lasso or magic wand to isolate specific areas of your lineart for precise coloring. This is particularly helpful for complex illustrations with overlapping elements.
 Utilizing Fill Tools for Efficient Coloring
Adding Depth and Dimension
Once your lineart is filled with base colors, it’s time to add depth and make your illustration pop. Consider these techniques:
-
Layering and Blending: Create multiple layers for different elements of your illustration, such as skin, hair, and clothing. Use blending modes like Multiply and Overlay to add shadows and highlights, giving your artwork a more three-dimensional appearance.
-
Shading and Highlights: Experiment with different shading techniques, such as cel shading for a more graphic look or soft shading for a smoother finish. Use a lighter color for highlights and a darker color for shadows.
-
Texturing: Add texture to your illustration by incorporating patterns, gradients, or brushes that mimic different materials. This adds visual interest and depth to your artwork.
Refining Your Artwork
With the coloring and shading complete, it’s time to fine-tune your illustration and add those finishing touches:
-
Adjustments and Filters: Experiment with Clip Studio Paint’s adjustment layers and filters to enhance colors, adjust brightness and contrast, or create specific effects.
-
Details and Highlights: Add details like stray hairs, fabric folds, or sparkling highlights to enhance realism and visual appeal.
-
Backgrounds: Don’t forget the background! Even a simple background can elevate your illustration. Experiment with different colors, gradients, or textures to complement your artwork.
Tips and Tricks for Coloring Lineart in Clip Studio Paint
-
Use Layer Masks: Create layer masks to non-destructively edit your colors and effects. This allows for greater flexibility and experimentation without altering your original lineart or base colors.
-
Explore Different Brushes: Clip Studio Paint offers a vast library of brushes, including custom brushes created by other artists. Experiment with different brushes to discover unique effects and streamline your coloring process.
-
Utilize Clipping Masks: Clipping masks allow you to constrain the effect of a layer to the layer below it. This is incredibly useful for adding details, textures, or shading without coloring outside the lines.
-
Practice and Experiment: Like any digital art technique, mastering coloring in Clip Studio Paint takes practice. Don’t be afraid to experiment with different tools, techniques, and styles to discover what works best for you.
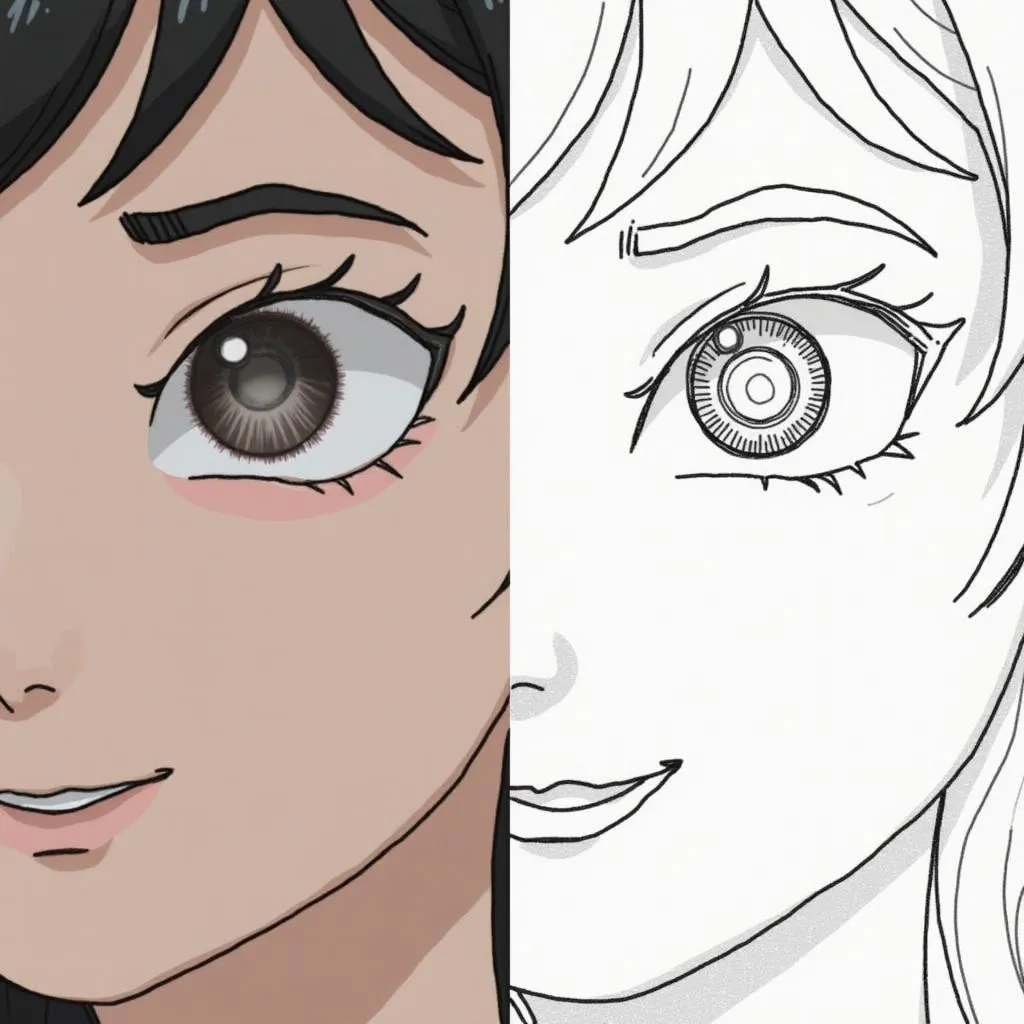
 Completed Illustration in Clip Studio Paint
Conclusion
Coloring lineart in Clip Studio Paint is a journey of creativity and technical skill. By mastering the tools, understanding color theory, and practicing different techniques, you can transform your digital illustrations into captivating works of art. So, embrace the world of colors, unleash your creativity, and watch your lineart come to life in Clip Studio Paint.
FAQs
1. Can I color lineart created in other programs in Clip Studio Paint?
Yes, you can import lineart created in other programs like Adobe Photoshop or Procreate into Clip Studio Paint for coloring. Ensure your lineart is saved in a compatible format like PNG or PSD.
2. What are some common mistakes to avoid when coloring lineart?
Common mistakes include choosing a poorly balanced color palette, neglecting shading and highlights, and overusing textures. It’s also essential to pay attention to details and ensure clean linework.
3. How can I improve my color blending skills in Clip Studio Paint?
Practice using different blending modes, experiment with brush settings, and study how light interacts with different surfaces. Online tutorials and courses can also provide valuable insights and techniques.
4. Are there any resources for finding free Clip Studio Paint brushes and assets?
Yes, websites like Clip Studio Assets offer a vast library of free and paid brushes, textures, and other assets created by the Clip Studio Paint community.
5. Can I sell artwork created in Clip Studio Paint commercially?
Yes, you can sell artwork created in Clip Studio Paint commercially, provided you own the rights to the artwork and comply with the software’s licensing agreement.
Need Help With Your Next Project?
Contact us today! Our team of design experts is here to help bring your vision to life.
Phone: 0373298888
Email: [email protected]
Address: 86 Cầu Giấy, Hà Nội.