Melt and pour soap making is a fantastic hobby, allowing for endless creativity and customization. One of the most exciting aspects is exploring different coloring techniques, especially the mesmerizing color melt and pour soap method. This technique allows you to create vibrant swirls, intricate patterns, and stunning visual effects that transform ordinary soap into miniature works of art. Whether you’re a seasoned soap maker or just starting out, learning How To Color Melt And Pour Soap opens up a world of possibilities.
Mastering the Art of Color Melt and Pour Soap
Creating color melt and pour soap involves a delicate balance of heat, timing, and color selection. The process begins with choosing your preferred melt and pour soap base. There are a variety of bases available, from clear glycerin to creamy goat’s milk. Each base offers a unique texture and lather, so choose one that aligns with your desired outcome.
Next, select your colorants. While specialized soap dyes offer intense vibrancy, you can also explore natural options like clays, herbs, and spices. Remember, less is often more, especially when starting. You can always add more color later, but it’s difficult to remove excess color once mixed.
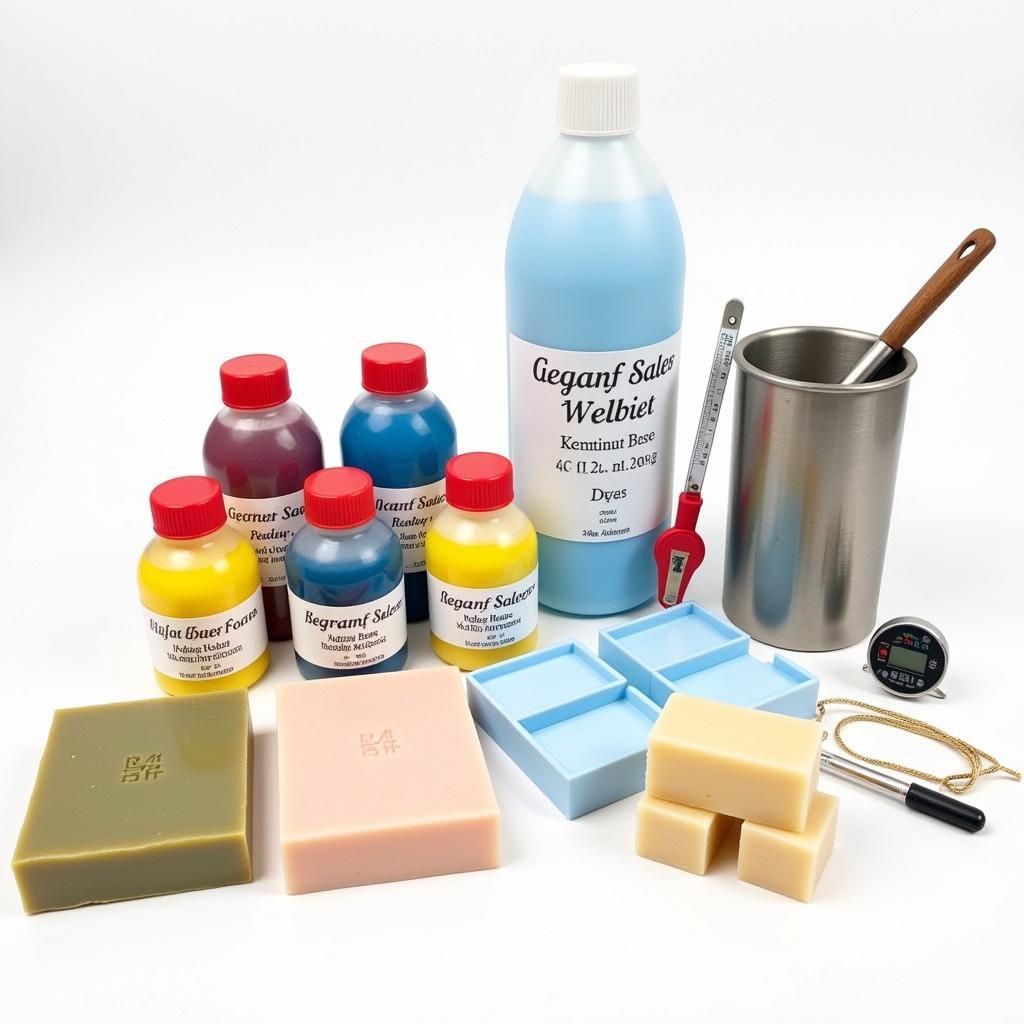
 Melt and Pour Soap Making Supplies: Dyes, Base, and Tools
The key to the color melt technique is working with melted soap at the right temperature. Too hot, and the colors may blend too much, losing definition. Too cool, and the soap may harden before you can achieve the desired swirl. A good rule of thumb is to heat the soap base until just melted, then allow it to cool slightly before adding color.
Creating Stunning Color Swirls and Patterns
Once your soap base is melted and your colors are prepared, the real fun begins. There are several techniques for achieving different color melt effects. A popular method is the layered pour, where you pour different colored soaps into the mold in layers, creating a stacked effect. Another technique involves swirling colors together using a toothpick or skewer, generating intricate patterns.
For a more dramatic effect, consider the drop swirl technique. This involves dropping small amounts of concentrated color into the melted soap base and gently swirling them together. This creates stunning, abstract patterns reminiscent of marble or tie-dye. Experiment with different pouring speeds and swirling techniques to discover your unique style.
Remember, the beauty of melt and pour soap making lies in its flexibility. Don’t be afraid to experiment and try new things. You might be surprised at the unique and beautiful results you achieve. Similar to how to color soap naturally, the melt and pour method offers a wide array of creative possibilities.
Troubleshooting Common Color Melt Challenges
While color melt and pour soap making is generally straightforward, you might encounter a few common challenges. One issue is color bleeding, where the colors blend together more than intended. This often occurs when the soap base is too hot or when using highly concentrated dyes.
Another challenge is achieving consistent swirls. This requires practice and a steady hand. If your swirls aren’t as defined as you’d like, try using a smaller swirling tool or working with a slightly cooler soap base. How do you color soap evenly? That’s a question many beginners ask, and consistent stirring is key. For a deeper dive into coloring techniques, check out how do you color soap.
Finally, air bubbles can sometimes appear in your finished soap. To minimize bubbles, gently tap the mold on a hard surface after pouring. You can also spritz the surface of the soap with rubbing alcohol to disperse any remaining bubbles. These techniques can be applied when how to make a multi colored candle as well, especially for achieving a smooth, bubble-free surface.
Conclusion
Color melt and pour soap making is a rewarding craft that allows you to express your creativity and create beautiful, personalized soaps. By mastering the basic techniques and understanding the nuances of color and heat, you can create stunning works of art that are as enjoyable to use as they are to admire. Now that you know how to color melt and pour soap, the possibilities are endless!
Expert Insights:
- Dr. Sarah Miller, Soap Artisan and Chemist: “The beauty of melt and pour soap lies in its accessibility. It’s a wonderful medium for beginners to explore the art of soap making without the complexities of cold process methods.”
- John Davis, Master Soap Maker: “Experimentation is key to mastering color melt techniques. Don’t be afraid to push the boundaries and try new things. You might discover your signature swirl!”
FAQ
- What is the best soap base for color melt?
- Can I use food coloring to color melt and pour soap?
- How do I prevent color bleeding?
- What is the ideal temperature for melt and pour soap?
- How do I remove air bubbles from my soap?
- What are some advanced color melt techniques?
- Where can I find more melt and pour soap making resources?
Need help with your soap making journey? Contact us at Phone Number: 0373298888, Email: [email protected] or visit us at 86 Cau Giay, Hanoi. Our customer service team is available 24/7.

