Creating vibrant, eye-catching multi-color vinyl stickers is a fun and rewarding process. Whether you’re looking to personalize your belongings, create unique gifts, or even start a small business, this comprehensive guide will equip you with the knowledge and techniques to bring your sticker designs to life. From choosing the right materials to mastering layering techniques, we’ll cover everything you need to know to make your own multi-color vinyl stickers like a pro.
Gathering Your Supplies
Before you embark on your sticker-making journey, it’s essential to gather all the necessary tools and materials. Here’s a checklist to get you started:
- Vinyl Cutter: This is the heart of the operation, allowing you to precisely cut intricate designs into vinyl sheets.
- Adhesive Vinyl: Opt for high-quality, waterproof vinyl in the colors you desire for your sticker design.
- Transfer Tape: This transparent adhesive sheet helps you lift and transfer your cut vinyl designs onto your desired surface.
- Weeding Tools: Fine-tipped weeding tools are crucial for removing excess vinyl around your cut designs.
- Cutting Mat: A sticky cutting mat provides a stable surface for your vinyl while protecting your work surface.
- Design Software: Utilize design software like Adobe Illustrator or free alternatives like Canva to create your sticker designs.
- Computer and Printer: You’ll need these to print your designs and connect to your vinyl cutter.
- Scraper Tool: This handy tool helps smooth out air bubbles and ensure proper adhesion during the transfer process.
- Ruler and Scissors: Useful for measuring and trimming your vinyl sheets.
Designing Your Multi-Color Sticker
With your supplies ready, it’s time to unleash your creativity and design your multi-color sticker.
- Choose Your Design: Select or create a design that can be effectively separated into distinct color layers.
- Separate Colors: In your design software, separate each color of your design into its own individual layer.
- Mirror Your Image: Before sending your design to the vinyl cutter, remember to mirror or flip your image horizontally. This ensures that your sticker appears correctly when transferred.
Cutting and Weeding Your Vinyl
With your design finalized, it’s time to bring it to life using your vinyl cutter.
- Load Vinyl: Place your first color of adhesive vinyl onto your cutting mat and load it into the vinyl cutter.
- Adjust Cut Settings: Consult your vinyl cutter’s instructions to select the appropriate cut settings for your chosen vinyl.
- Send to Cutter: Send your design to the vinyl cutter and let it work its magic.
- Weed Your Design: Once cutting is complete, carefully use your weeding tools to peel away the excess vinyl surrounding your design, leaving only the parts that will make up your sticker.
- Repeat for Each Color: Repeat the cutting and weeding process for each color layer of your design.
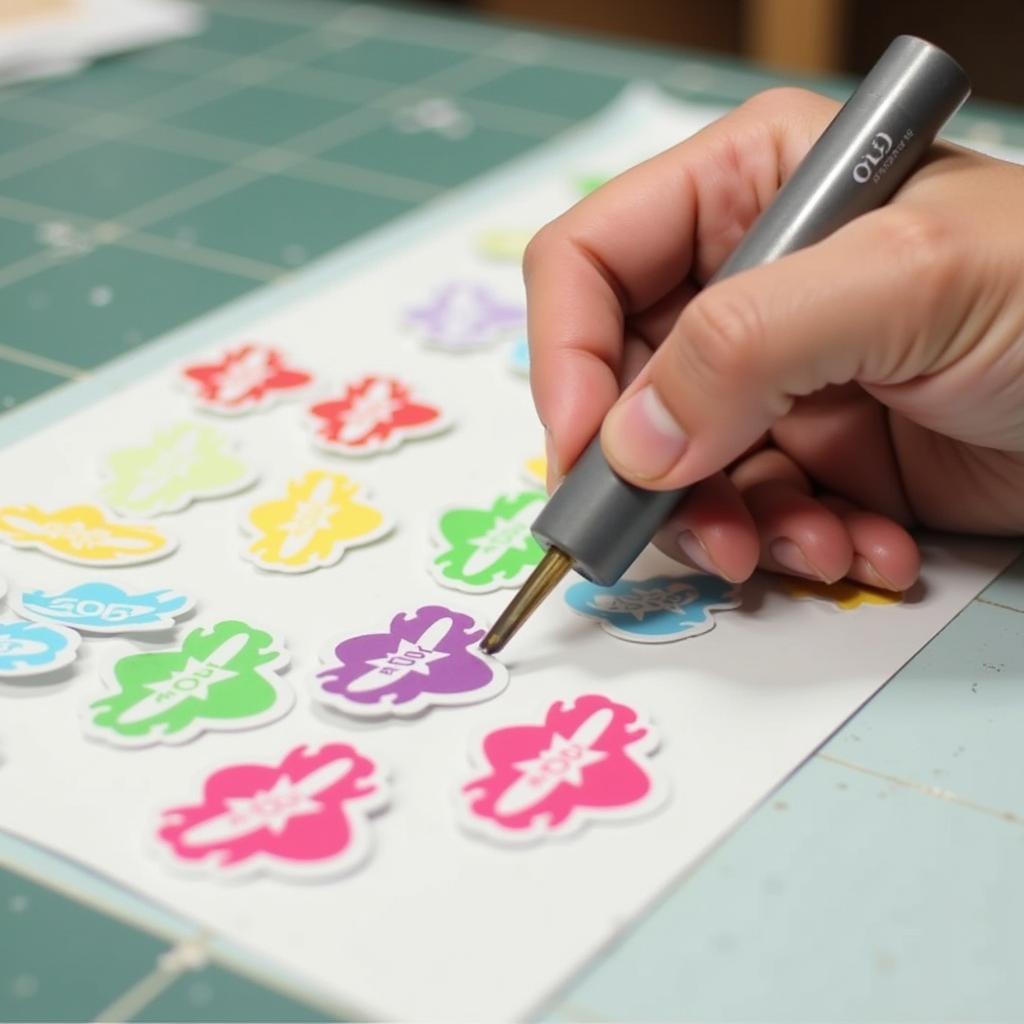 Cutting and Weeding Multi-Color Vinyl Layers
Layering and Applying Your Vinyl
Now comes the satisfying part: assembling your multi-color masterpiece.
- Prepare Your Transfer Tape: Cut a piece of transfer tape slightly larger than your first sticker layer.
- Apply Transfer Tape: Peel away the backing of the transfer tape and carefully align it over your first vinyl layer. Use a scraper tool to firmly press the transfer tape onto the vinyl, ensuring proper adhesion.
- Lift and Transfer: Gently peel the transfer tape, along with the adhered vinyl layer, away from the backing paper.
- Align and Apply Subsequent Layers: Carefully align the first layer onto your desired surface. Once positioned correctly, use the scraper tool to burnish the vinyl onto the surface. Peel away the transfer tape, leaving the first layer behind.
- Repeat for Remaining Layers: Repeat steps 1-4 for each subsequent vinyl layer, carefully aligning each layer to build up your multi-color design.
Finishing Touches
With all your layers applied, take a moment to admire your handiwork! For added durability, especially for outdoor use, consider applying a clear, UV-resistant sealant over your sticker.
Troubleshooting Tips
- Air Bubbles: If air bubbles appear during application, gently prick them with a fine needle and smooth them out with your scraper tool.
- Vinyl Not Sticking: Ensure your surface is clean and dry before application. If using transfer tape, make sure it’s firmly adhered to the vinyl.
- Layering Issues: Precise alignment is key for multi-color designs. Use guidelines or a hinge method to ensure accurate placement of each layer.
how to do multi color vinyl cricut provides a step-by-step guide on using Cricut machines specifically for creating these stickers. For those looking to create multi-color vinyl decals, how to make multi color vinyl decals offers a comprehensive resource with detailed instructions and helpful tips.
By following these detailed instructions and troubleshooting tips, you’ll be well on your way to creating stunning, professional-looking multi-color vinyl stickers that showcase your creativity and add a touch of personality to your world.
Need help bringing your sticker vision to life? Contact our team at 0373298888, email us at [email protected], or visit us at 86 Cầu Giấy, Hà Nội. Our 24/7 customer support team is here to help!