Inverting colors in your artwork can be a powerful tool for creating interesting effects and streamlining your workflow. Whether you’re a seasoned digital artist or just starting out, Clip Studio Paint offers an easy-to-use solution for inverting colors. In this comprehensive guide, we’ll walk you through the different methods for inverting colors in Clip Studio Paint, empowering you to unlock new creative possibilities.
Understanding Color Inversion
Before diving into the how-to, let’s quickly grasp the concept of color inversion. In simple terms, color inversion flips the colors in your image to their opposites on the color wheel. For instance, black becomes white, red turns cyan, green transforms into magenta, and so on. This process can result in striking visual effects, making your artwork stand out.
Method 1: Inverting Colors on a Selected Layer
This method allows you to invert colors on a specific layer, preserving the original colors on other layers.
- Open your artwork in Clip Studio Paint.
- Select the layer containing the colors you want to invert. You can find your layers in the “Layer” window.
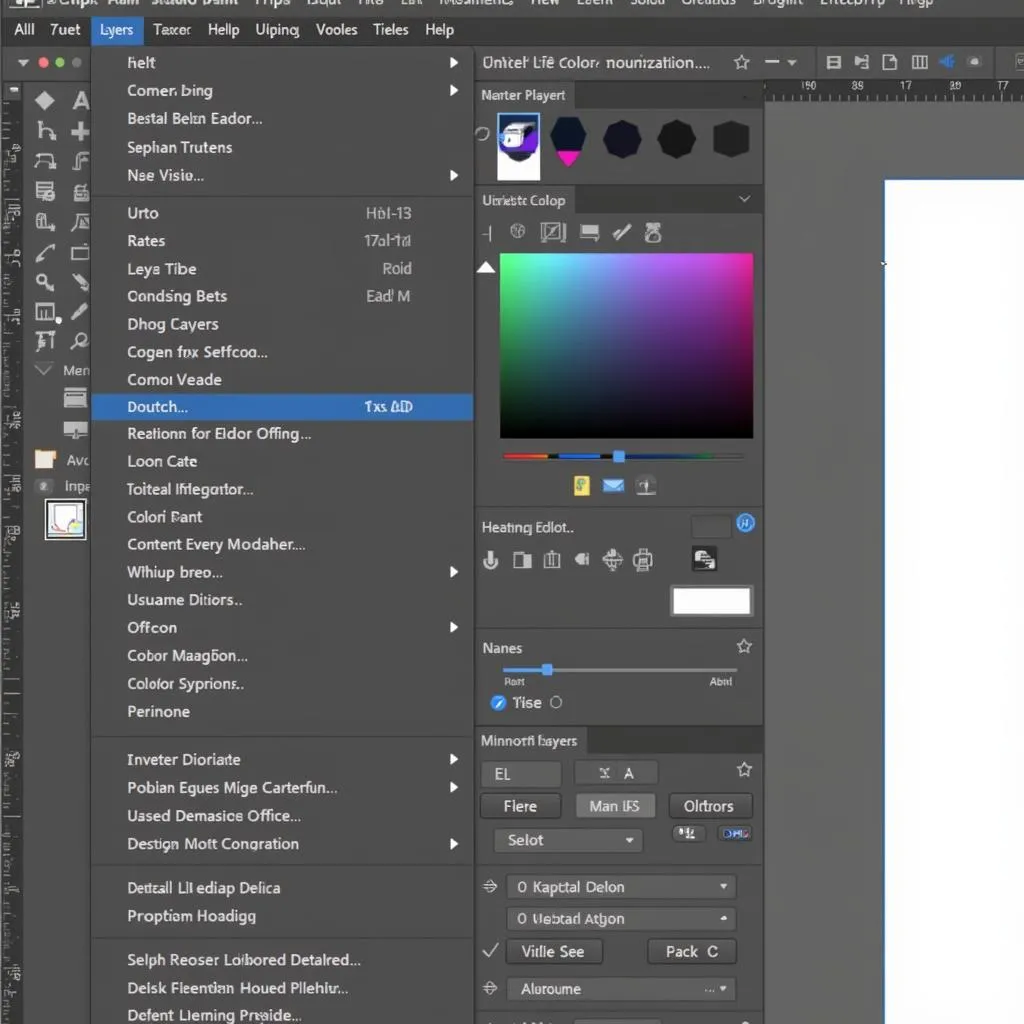
- Navigate to the top menu and click on “Edit.”
- Hover your cursor over “Tonal Correction.”
- Select “Invert.”
 Inverting Colors on a Selected Layer in Clip Studio Paint
Voila! The colors on your selected layer are now inverted.
Method 2: Inverting Colors on the Entire Canvas
This method inverts the colors on all visible layers, providing a quick and easy way to transform the overall look of your artwork.
- Make sure all the layers you want to affect are visible. Hidden layers won’t be affected by the inversion.
- Go to the top menu and click on “Edit.”
- Hover your cursor over “Tonal Correction.”
- Select “Invert.”
 Inverting Colors on the Entire Canvas in Clip Studio Paint
Your entire canvas now showcases the magic of inverted colors!
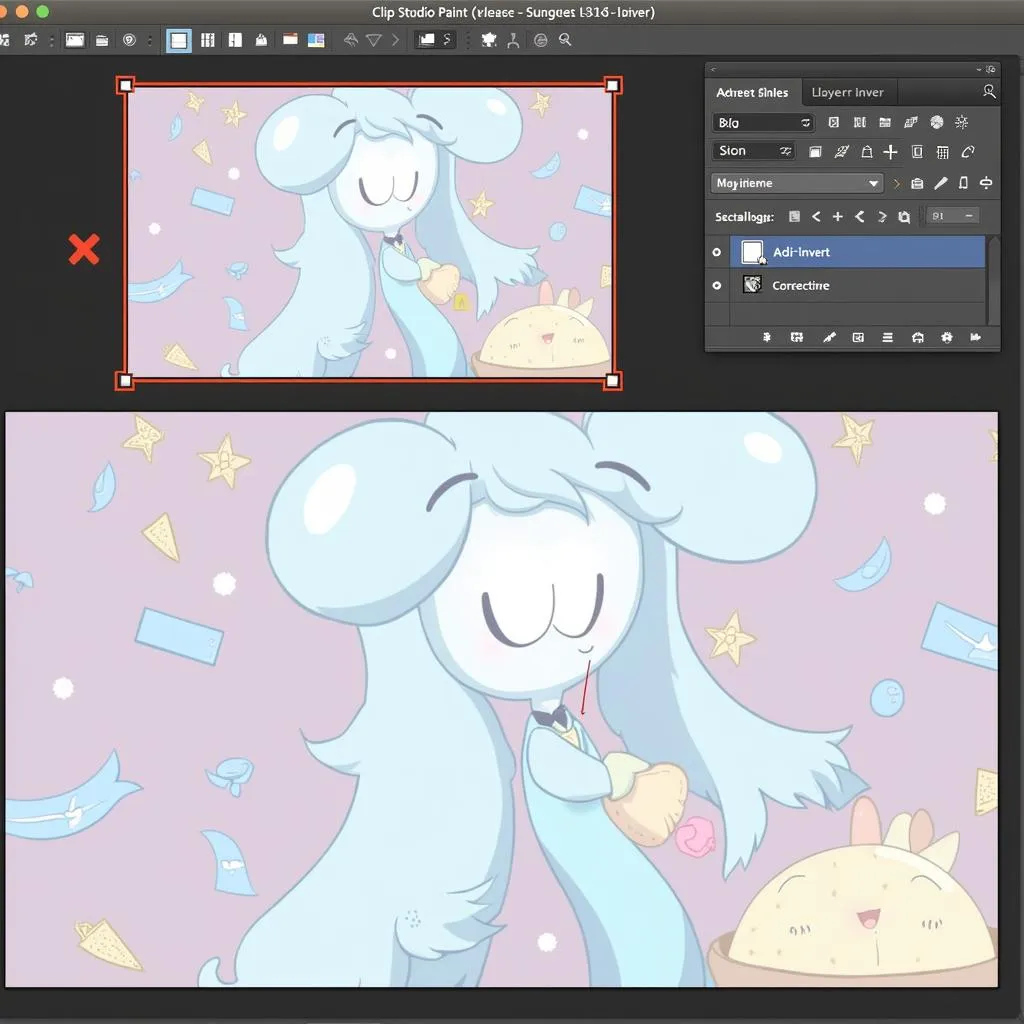
Method 3: Using Correction Layers for Non-Destructive Inversion
Correction layers offer a powerful way to experiment with color inversion without permanently altering your original artwork. Here’s how:
- Open your artwork in Clip Studio Paint.
- Go to the “Layer” window and click on the “New Correction Layer” icon. It looks like a circle that’s half filled.
- Select “Invert.” This creates a new layer above your selected layer with the color inversion applied.
 Using a Correction Layer for Color Inversion in Clip Studio Paint
You can now adjust the opacity of the correction layer to control the intensity of the color inversion or easily disable it to revert to your original colors.
Conclusion
Inverting colors in Clip Studio Paint is a simple yet effective technique that can breathe new life into your artwork. Whether you’re aiming for a dramatic transformation or a subtle shift in tone, Clip Studio Paint provides the tools you need. Experiment with the different methods outlined in this guide and discover the endless creative possibilities that color inversion offers!
Need further assistance with Clip Studio Paint or other design needs? Contact us!
Phone: 0373298888
Email: [email protected]
Address: 86 Cầu Giấy, Hà Nội
Our team is available 24/7 to provide expert support.