Clouds, those fluffy wonders of the sky, can seem like a tricky subject to capture with colored pencils. However, with a little guidance and some practice, you’ll be able to draw realistic and breathtaking clouds that will add depth and dimension to your artwork.
This comprehensive guide will take you step-by-step through the process of drawing different types of clouds using colored pencils, from fluffy cumulus clouds to wispy cirrus formations. We’ll cover essential techniques, helpful tips, and even address some common challenges, empowering you to confidently depict clouds in your art.
Understanding Clouds and Their Forms
Before diving into the drawing techniques, it’s beneficial to have a basic understanding of different cloud types and their characteristics. This knowledge will help you create more realistic and convincing depictions. Here are a few common cloud types:
- Cumulus: These are the classic, puffy clouds that often resemble cotton balls. They have flat bases and rounded tops, with well-defined edges.
- Stratus: Stratus clouds appear as flat, featureless layers of gray or white. They often cover the entire sky and can indicate overcast conditions.
- Cirrus: These wispy, delicate clouds are made up of ice crystals. They appear high in the sky and often have a feathery or hair-like appearance.
- Cumulonimbus: Also known as thunderclouds, these towering clouds are associated with thunderstorms and heavy precipitation. They have a dark, imposing base and can reach high altitudes.
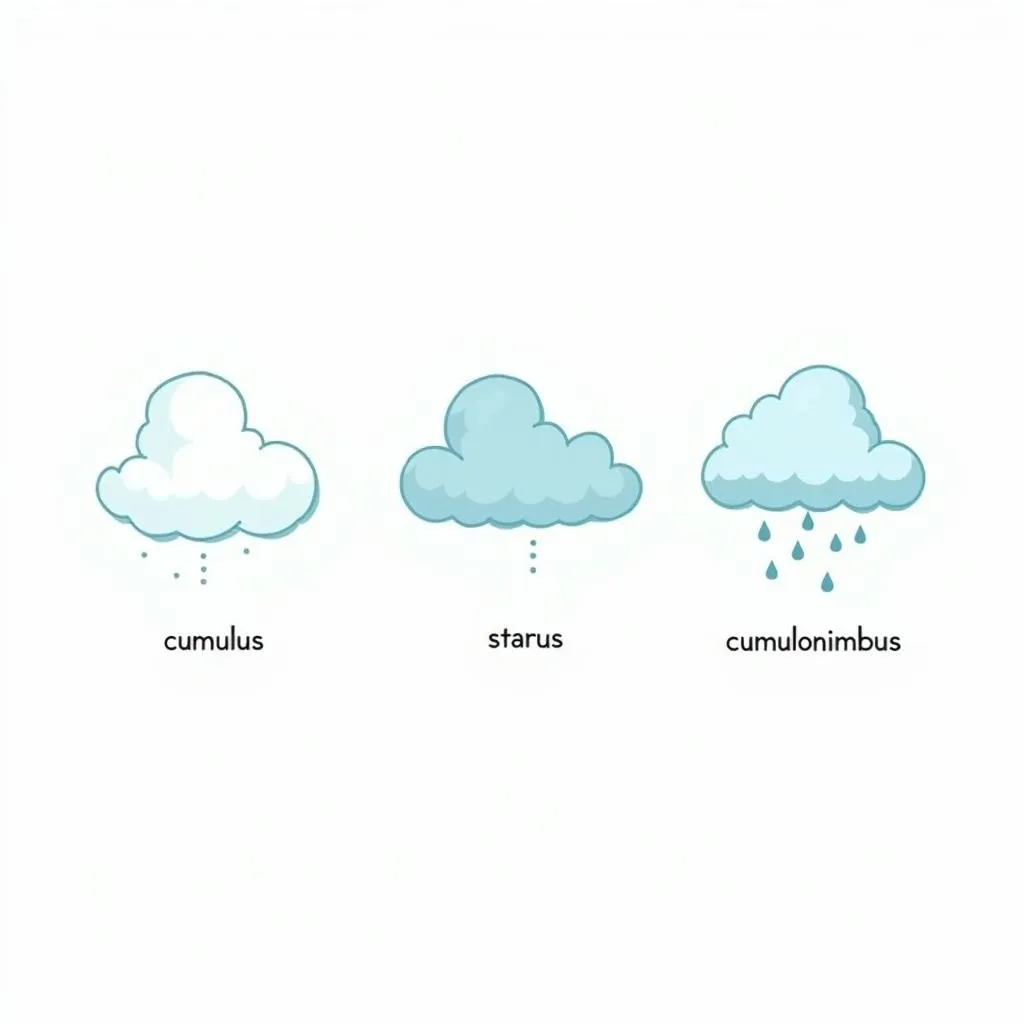 Illustration of Different Cloud Types
Gathering Your Materials
To get started with drawing clouds, you’ll need a few basic materials:
- Colored Pencils: Invest in a good quality set of colored pencils with a range of shades, including whites, grays, blues, and purples.
- Drawing Paper: Choose a paper that is smooth enough for blending colored pencils but also has enough tooth to hold pigment.
- Blending Tools: Cotton swabs, blending stumps, or even your fingers can be used for blending colors and creating smooth transitions.
- Eraser: A kneaded eraser is ideal for lifting off excess pigment and creating highlights.
- Optional: A white gel pen or white gouache paint can be used to add final highlights and details.
Basic Techniques for Drawing Clouds with Colored Pencils
Mastering a few basic techniques will lay a strong foundation for drawing realistic clouds:
1. Layering Colors: Begin by layering light colors first, gradually building up the intensity. Use a light touch and small, circular motions to apply the color.
2. Blending: To create smooth transitions between colors, use your blending tool to gently blend the layers together. This will create a more realistic and three-dimensional effect.
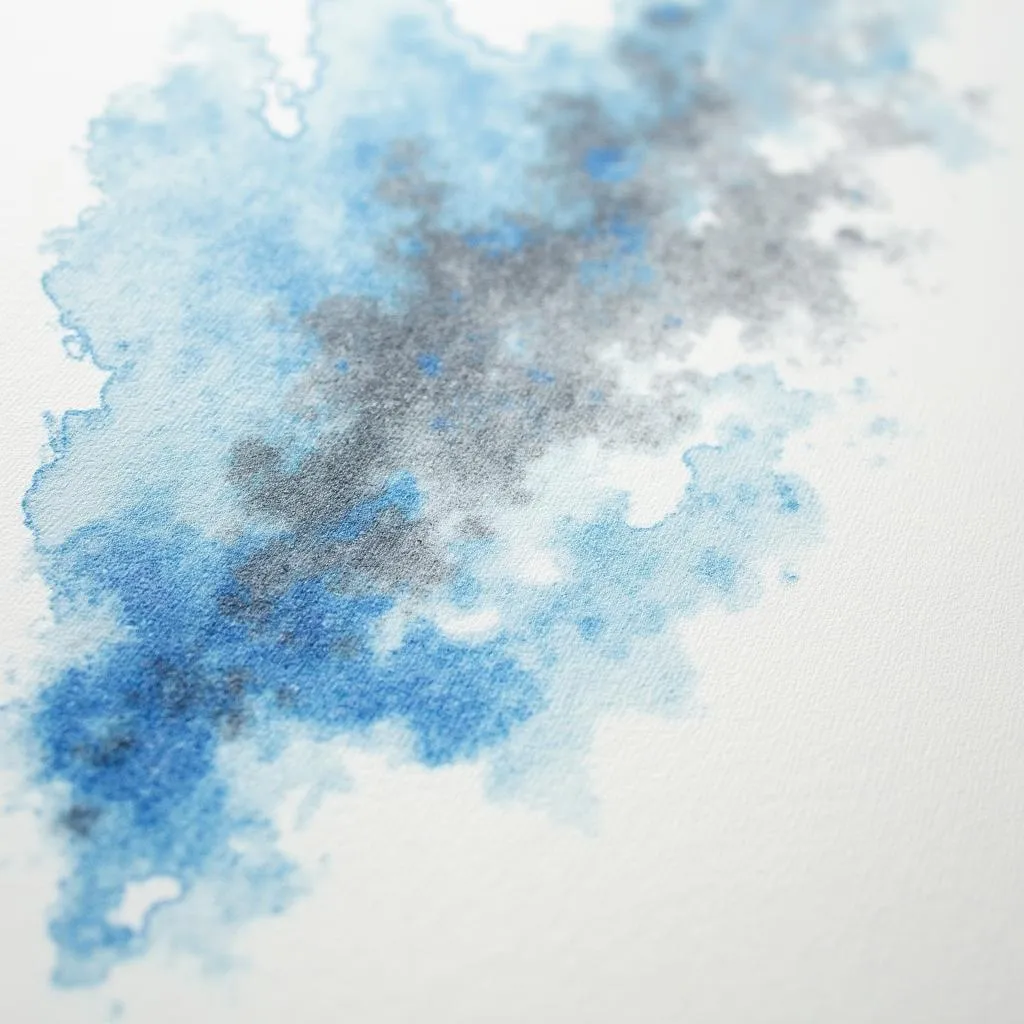 Colored Pencil Blending for Clouds
3. Creating Form and Volume: To give your clouds a sense of form, pay attention to light and shadow. Use darker shades of gray and blue to create shadows underneath the cloud and lighter shades for the highlighted areas.
4. Adding Texture: Clouds are not perfectly smooth. Experiment with different pencil strokes and techniques to create texture. Use short, choppy strokes for fluffy clouds and longer, wispier strokes for cirrus clouds.
5. Using a Light Touch: Avoid pressing too hard with your colored pencils, as this can make it difficult to blend and create subtle transitions.
Step-by-Step Guide to Drawing a Cumulus Cloud
Now let’s put these techniques into practice by drawing a classic cumulus cloud:
-
Sketch the Outline: Lightly sketch the basic shape of your cumulus cloud using a light blue or gray pencil. Keep the outline loose and organic.
-
Lay Down Base Colors: Use a light blue colored pencil to lay down a base color over the entire cloud shape. Apply the color lightly and evenly.
-
Build Up Shadows: Using a darker blue or gray, start to build up the shadows underneath the cloud. Focus on the areas where the cloud curves inward.
-
Add Highlights: With a white colored pencil, add highlights to the top and edges of the cloud where the light would hit it directly.
-
Blend and Refine: Using your blending tool, gently blend the colors together, creating smooth transitions between the shadows and highlights.
-
Add Texture: Use short, circular strokes with a white or light blue pencil to add a fluffy texture to the cloud.
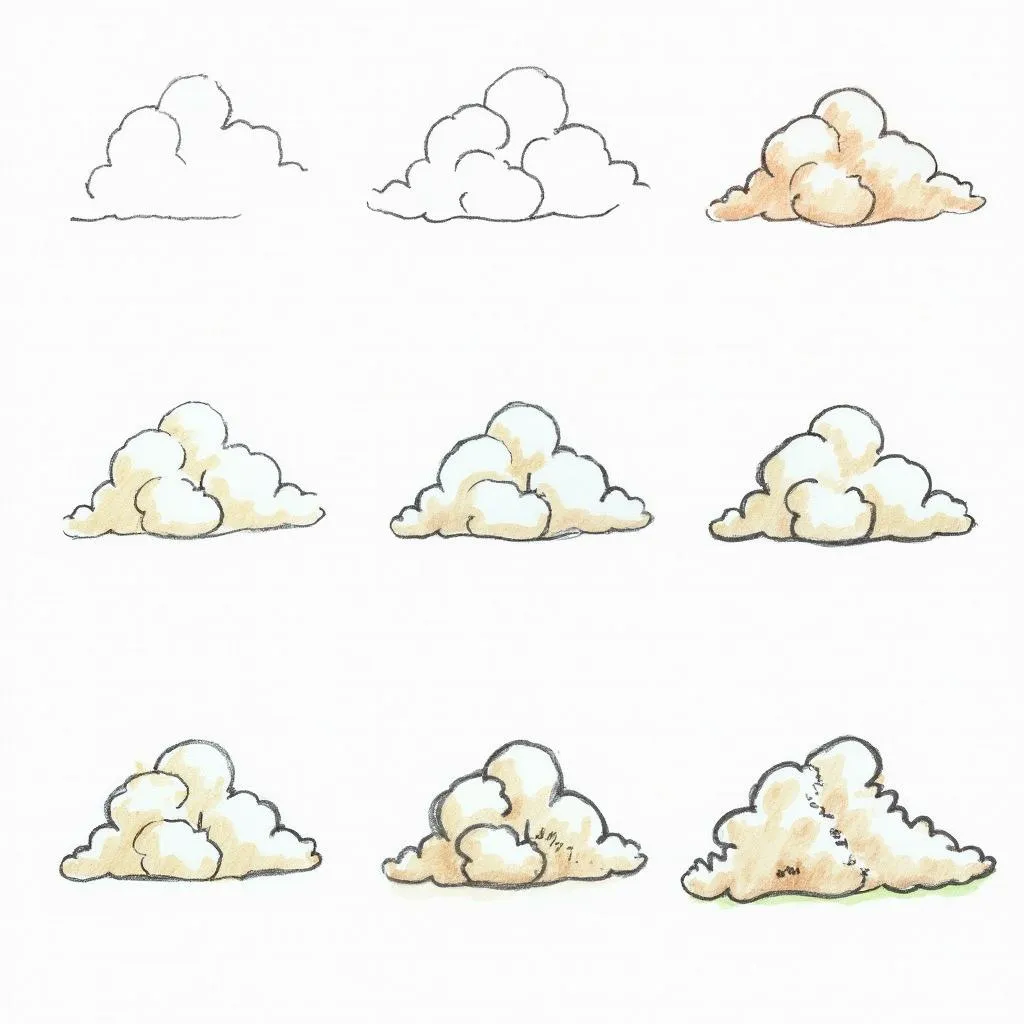 Step-by-Step Cumulus Cloud Drawing
Tips for Drawing Realistic Clouds
- Observe Real Clouds: Spend time observing real clouds in the sky. Notice their shapes, colors, and how they interact with light and shadow.
- Practice Different Cloud Types: Don’t limit yourself to one type of cloud. Experiment with drawing different cloud formations to expand your skills.
- Don’t Be Afraid to Experiment: Try using different color combinations and blending techniques to achieve unique and interesting effects.
- Use a Reference Photo: If you’re struggling to visualize a particular cloud formation, use a reference photo to guide you.
Conclusion
Drawing clouds with colored pencils can be a rewarding and enjoyable experience. With practice and by following these techniques, you’ll be well on your way to creating beautiful and realistic cloud formations that will bring your artwork to life.
FAQs
1. What are the best colored pencils for drawing clouds?
High-quality colored pencils with a wide range of shades, particularly blues, grays, and whites, are ideal. Look for pencils with good pigment and blendability.
2. How do I create a sense of depth in my cloud drawings?
By carefully observing and recreating light and shadow patterns, you can create a sense of depth. Use darker shades to create shadows and lighter shades for highlights.
3. What if my clouds look flat and unrealistic?
Focus on building up layers of color gradually and blending them seamlessly. Pay close attention to light and shadow to create form and volume.
4. Can I use other mediums in combination with colored pencils?
Yes, you can experiment with adding white gel pen highlights or using watercolors to create a subtle background wash.
Need Help with Your Next Creative Project?
Contact us today for expert advice and support!
Phone: 0373298888
Email: [email protected]
Address: 86 Cầu Giấy, Hà Nội
Our team is available 24/7 to assist you with all your creative needs.