Layering jello colors is a fun and easy way to create a show-stopping dessert that’s perfect for parties, potlucks, or any occasion. Whether you’re aiming for a classic rainbow effect or a more intricate design, mastering the art of jello layering can add a touch of magic to your culinary creations. This comprehensive guide will walk you through the steps to achieve vibrant and perfectly layered jello, turning your dessert into a dazzling masterpiece.
Understanding the Basics of Jello Layering
The key to successful jello layering lies in controlling the temperature of each layer. Each layer must be set enough to support the next, but not too firm, or the layers will separate. Here’s the secret:
- Hot to Cold: Always pour hot jello onto a cold layer. This ensures a smooth transition and prevents the colors from bleeding.
- Refrigeration is Key: Allow each layer to solidify in the refrigerator before adding the next. This patience ensures clean, distinct layers.
Essential Tools for Jello Layering
Before you embark on your jello layering adventure, gather these essential tools:
- Transparent Glass or Bowls: The ideal vessels for showcasing your colorful creation.
- Measuring Cups and Spoons: Precision is key for consistent results.
- Whisk or Spoon: For thorough mixing.
- Refrigerator: Your best friend in achieving perfectly set layers.
Step-by-Step Guide to Layering Jello Colors
Follow these detailed steps to create your own vibrant, layered jello:
-
Prepare Your Jello: Choose your desired jello flavors and follow the package instructions for making each color. You can adjust the water ratio slightly to create more intense colors.
-
First Layer: Pour your first jello color into your chosen container and refrigerate for at least 30 minutes, or until set but still slightly jiggly.
-
Subsequent Layers: Heat your next jello color according to package instructions. Allow it to cool slightly before carefully pouring it over the set layer in the refrigerator.
-
Repeat: Continue adding layers, refrigerating each one until set, until you achieve your desired height and color combination.
-
Final Chill: Once all layers are set, refrigerate your jello creation for at least 4 hours, or preferably overnight, to allow it to fully solidify.
Tips and Tricks for Jello Layering Perfection
Elevate your jello layering game with these expert tips:
-
Test the Jiggle: Before adding a new layer, gently touch the surface of the set jello. It should be firm to the touch but still have a slight jiggle.
-
Tilt and Pour: To achieve a smooth, even layer, tilt your container at an angle while slowly pouring the next color.
-
Get Creative with Colors: Don’t be afraid to experiment with different color combinations and gradients.
-
Add Texture and Flavor: Incorporate fruit pieces, sprinkles, or even whipped cream between layers for added texture and flavor.
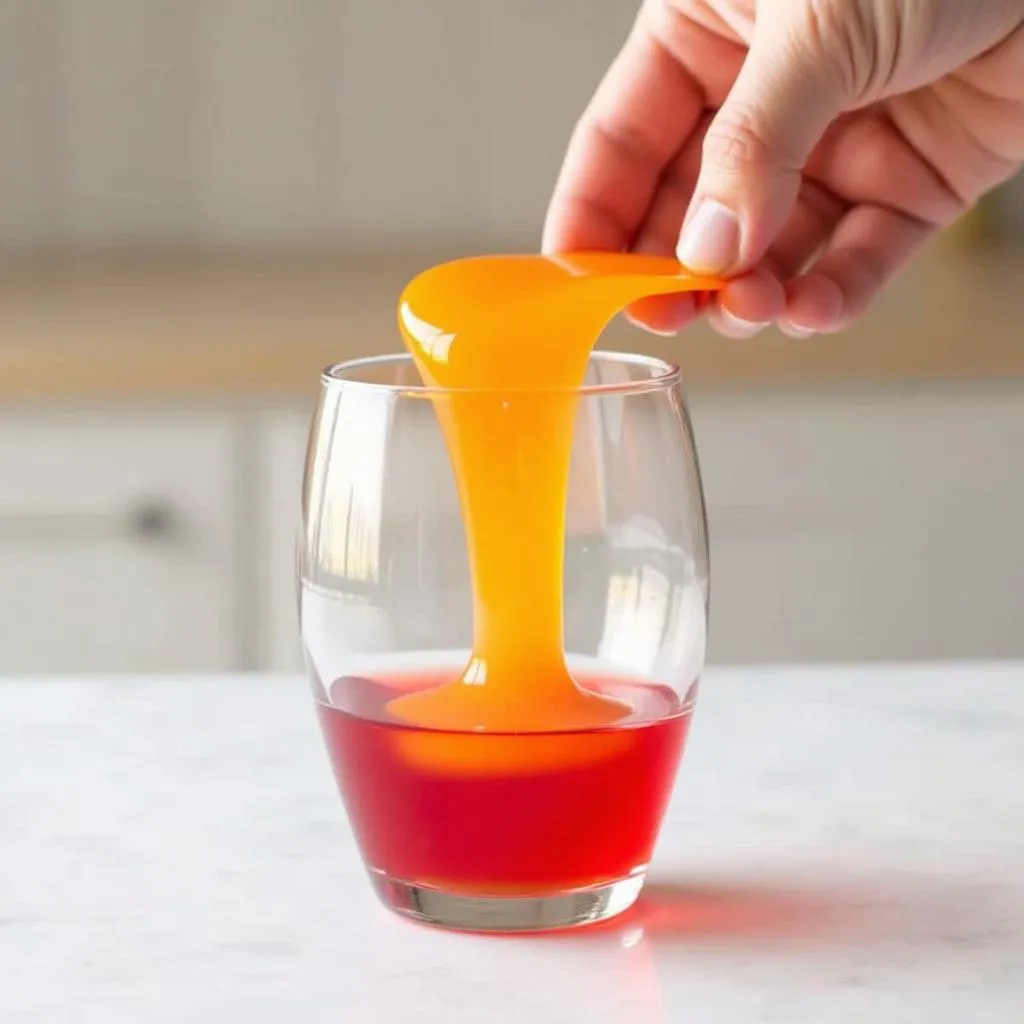 Layering different colors of jello in a glass.
Troubleshooting Common Jello Layering Issues
Encountering problems? Here are solutions to common jello layering mishaps:
-
Cloudy Layers: This usually happens when the jello isn’t completely dissolved before chilling. Ensure your jello powder is fully mixed before refrigerating.
-
Layers Separating: This occurs when a new layer is added before the previous one has fully set. Be patient and allow ample chilling time between layers.
-
Air Bubbles: To avoid air bubbles, gently tap your container on the counter after pouring each layer to release any trapped air.
Frequently Asked Questions about Layering Jello
1. Can I use sugar-free jello for layering?
Yes, you can use sugar-free jello for layering. Follow the same steps and tips for best results.
2. How long does layered jello last in the refrigerator?
Properly stored layered jello can last in the refrigerator for up to 5-7 days.
3. Can I freeze layered jello?
It’s not recommended to freeze layered jello, as freezing can alter the texture and make the layers separate upon thawing.
Beyond the Rainbow: Creative Jello Layering Ideas
Once you’ve mastered the basics, the possibilities for creative jello layering are endless!
-
Ombre Effect: Create a mesmerizing ombre effect by gradually lightening or darkening the shades of a single color in each layer.
-
Mosaic Jello: Cut different colored jello into cubes and arrange them in a pattern in your container before adding a final layer of clear jello.
-
Holiday-Themed Jello: Use holiday-themed colors and molds to create festive treats for special occasions.
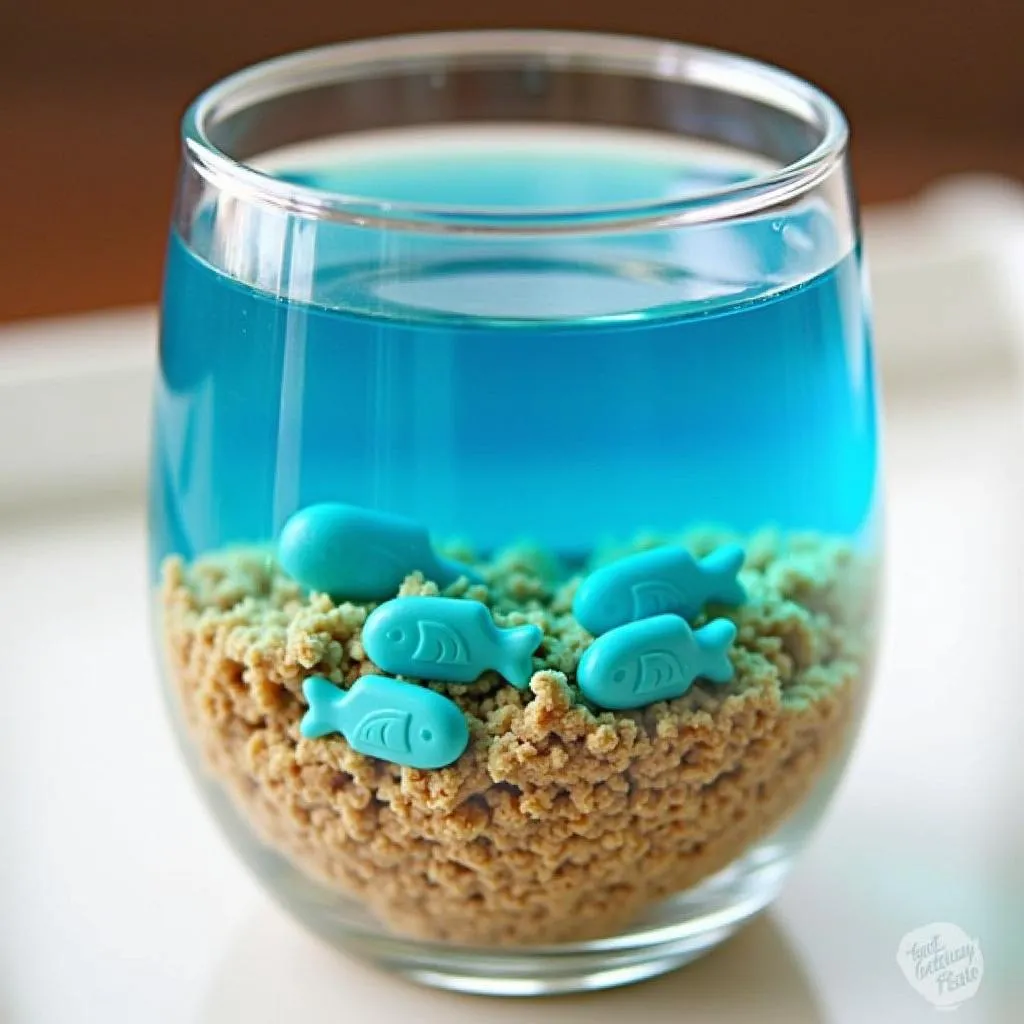 Layered jello in a glass creates a stunning visual effect resembling an ocean scene.
Conclusion
Layering jello colors is a delightful way to transform a simple dessert into a vibrant and impressive treat. By mastering the techniques and tips outlined in this guide, you can create stunning jello creations that will wow your friends and family. So unleash your creativity, experiment with colors and flavors, and enjoy the magical world of jello layering!
Need help with your jello masterpiece? Contact us at 0373298888, email us at [email protected], or visit us at 86 Cầu Giấy, Hà Nội. Our team is available 24/7 to assist you.