Coloring Easter eggs is a beloved tradition enjoyed by people of all ages. While traditional egg dyeing kits are widely available, did you know you can achieve vibrant and unique colors using a pantry staple – Kool-Aid? That’s right! This article will explore the colorful world of egg dyeing with Kool-Aid, providing a step-by-step guide to help you create stunning, edible masterpieces.
Unleashing the Colorful Potential of Kool-Aid on Eggs
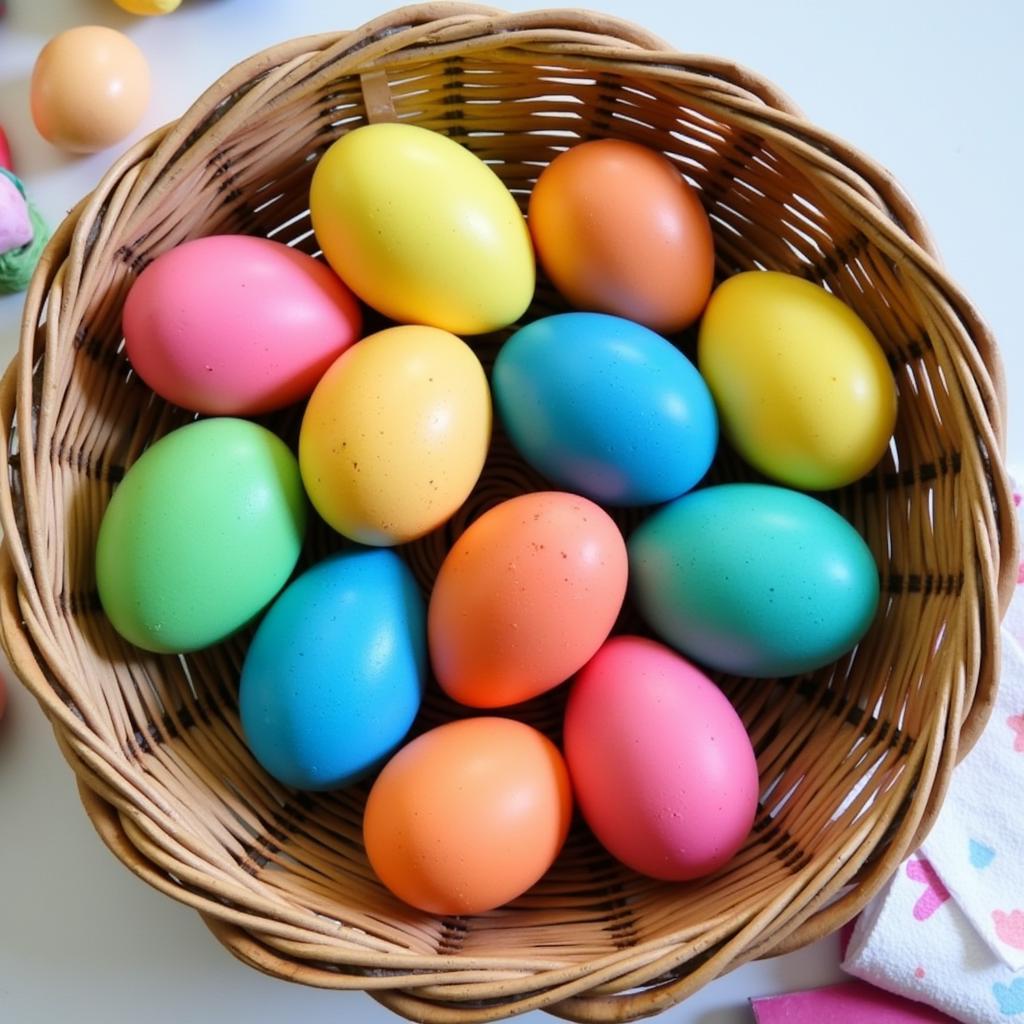
 Easter eggs dyed in vibrant colors using Kool-Aid.
Kool-Aid isn’t just for quenching thirst – its potent coloring properties make it a fantastic alternative to traditional egg dyes. The small packets are packed with vibrant hues, allowing you to experiment with an array of colors that pop. Plus, using Kool-Aid offers a budget-friendly option compared to store-bought dyeing kits.
Gathering Your Supplies
Before embarking on your colorful egg dyeing adventure, gather the following materials:
- Hard-boiled eggs (cooled to room temperature)
- White vinegar
- Water
- Assorted Kool-Aid packets (choose your favorite colors!)
- Cups or bowls (one for each color)
- Spoons for stirring
- Paper towels
- Optional: Vegetable oil, paper towels
A Step-by-Step Guide to Coloring Eggs with Kool-Aid
Follow these easy steps to create your own Kool-Aid-dyed Easter egg masterpieces:
-
Prepare the Dye Baths: For each color, dissolve one packet of Kool-Aid in 1/2 cup of hot water. Add 1 tablespoon of white vinegar to each cup to help set the color. Stir well until the powder is completely dissolved.
-
Submerge the Eggs: Gently place one egg into each cup of prepared dye. Make sure the eggs are fully submerged in the liquid.
-
Refrigerate and Soak: Refrigerate the cups for at least 30 minutes, or longer for more intense colors. You can leave the eggs soaking in the dye for several hours or even overnight.
-
Achieving Deeper Hues: For richer, more vibrant shades, consider leaving the eggs in the dye baths overnight. The longer the eggs soak, the more intense the color will become.
 Colorful Easter eggs dyed with Kool-Aid arranged in a basket.
-
Drying and Finishing Touches: Once the desired color is achieved, carefully remove the eggs from the dye baths using a spoon. Gently pat them dry with paper towels.
-
Optional Shine Boost: For a polished look, lightly coat the dried eggs with a thin layer of vegetable oil using a paper towel. This step will give your eggs a beautiful sheen.
Tips and Tricks for Vibrant and Unique Results
- Experiment with Color Combinations: Don’t be afraid to get creative and mix different Kool-Aid flavors to create custom colors.
- Create Patterns and Designs: Use rubber bands, stickers, or crayons to create patterns and designs on the eggs before dyeing.
- Marbleized Effects: For a unique marbled effect, gently swirl different colors of dye together in the cups before adding the eggs.
Conclusion
Coloring eggs with Kool-Aid is a fun, affordable, and creative way to celebrate Easter or any occasion. By following these simple steps and unleashing your inner artist, you can create a basket full of stunning, edible works of art that will impress your family and friends. So gather your supplies, put on your creative hat, and discover the endless possibilities of dyeing eggs with Kool-Aid!
