Color packing is a crucial stage in the tattooing process, where vibrant inks are meticulously applied to bring your design to life. Whether you’re a tattoo enthusiast eager to understand the art or a budding artist seeking to refine your technique, this guide provides valuable insights into the intricacies of color packing.
Understanding Color Packing
Color packing involves saturating the skin with ink, creating a solid and lasting layer of pigment. Unlike lining, which defines the outline, color packing adds depth, dimension, and visual impact to the tattoo.
Essential Tools and Supplies
Before embarking on the color packing journey, ensure you have the right equipment:
- Tattoo machine: A dedicated machine specifically designed for color packing is recommended, often with a slower speed and higher voltage for optimal ink deposit.
- Color packing needles: These needles differ from lining needles, typically featuring a larger configuration like magnums or rounds to distribute ink evenly over larger areas.
- High-quality tattoo inks: Opt for reputable brands known for their vibrant pigments and longevity.
- Other essentials: Cup holders, green soap, paper towels, barrier film, and a sharps container are essential for a hygienic and efficient tattooing experience.
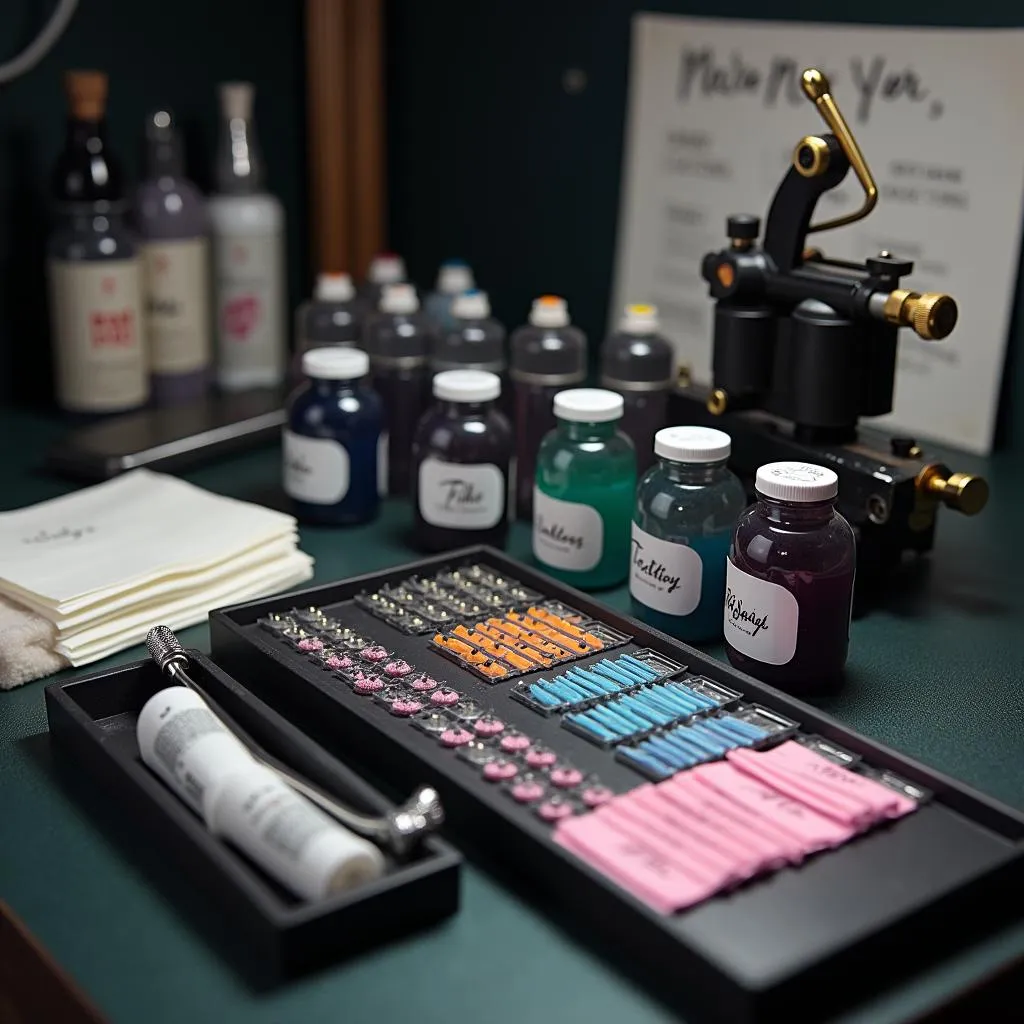 Color Packing Tattoo Supplies
Mastering the Technique
Color packing requires precision and a delicate touch. Follow these steps for optimal results:
- Prepare the Skin: Thoroughly clean and shave the tattooed area to remove any barriers to ink penetration. Apply a thin layer of stencil transfer gel to ensure the stencil remains intact throughout the process.
- Choose the Right Needle: Select the appropriate needle size and configuration based on the size and complexity of the design. Larger areas generally benefit from magnum needles, while smaller details might require round shaders.
- Adjust Machine Settings: Set your tattoo machine to a slower speed and higher voltage compared to lining. This allows for controlled ink deposit without causing unnecessary trauma to the skin.
- Proper Ink Consistency: Maintain an ideal ink consistency—not too thick to clog the needle and not too thin to spread uncontrollably.
- Stretching the Skin: Use your free hand to gently stretch the skin taut, creating a smooth surface for even ink application.
- Consistent Depth and Angle: Maintain a consistent needle depth and angle throughout the color packing process. A shallow angle can result in patchy ink, while a steep angle might cause excessive trauma.
- Work in Circular Motions: Employ small, overlapping circular motions to ensure even ink saturation. Avoid going over the same area too many times, as this can lead to skin irritation and color inconsistencies.
- Wipe Excess Ink Regularly: Frequently wipe away excess ink and plasma with a clean paper towel to maintain visibility of the tattooed area and prevent ink smudging.
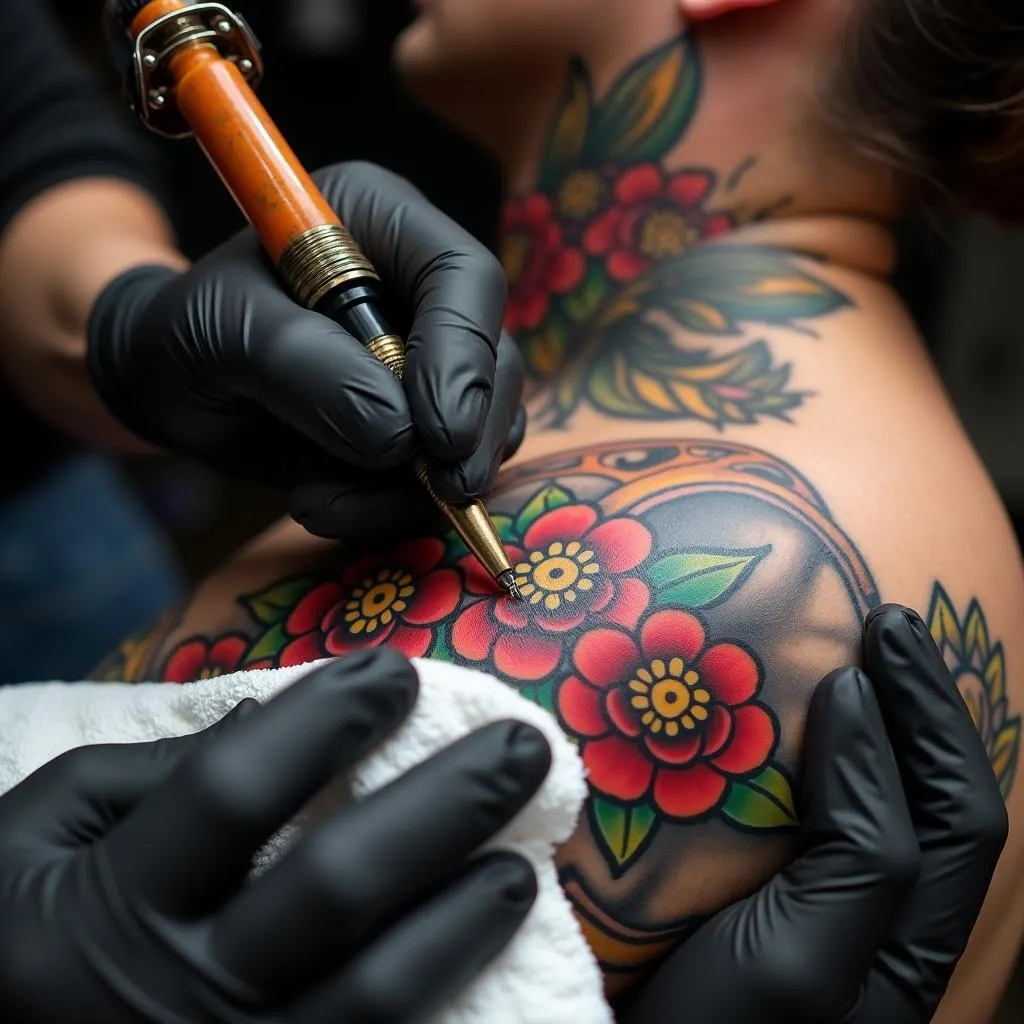 Tattoo Artist Color Packing a Tattoo
Tips for Successful Color Packing
- Start with Lighter Colors: Apply lighter colors first and gradually work your way to darker shades. This prevents darker colors from muddying the lighter ones.
- Pay Attention to Skin Tone: Consider the client’s skin tone when selecting ink colors. Some colors might appear different on various skin tones.
- Practice Patience: Color packing requires time and patience. Rushing the process can compromise the quality and longevity of the tattoo.
- Proper Aftercare: Educate your clients about the importance of proper aftercare to promote healing, preserve color vibrancy, and prevent infection.
Common Color Packing Challenges and Solutions
- Blowouts: Occur when ink is deposited too deep into the skin, causing it to spread beyond the intended lines. Solution: Maintain a consistent and appropriate needle depth.
- Patchy Color: Uneven ink saturation, resulting in an inconsistent appearance. Solution: Use overlapping circular motions, ensure proper ink consistency, and work in smaller sections.
- Color Fading: Loss of color vibrancy over time. Solution: Use high-quality inks, protect tattoos from excessive sun exposure, and follow proper aftercare instructions.
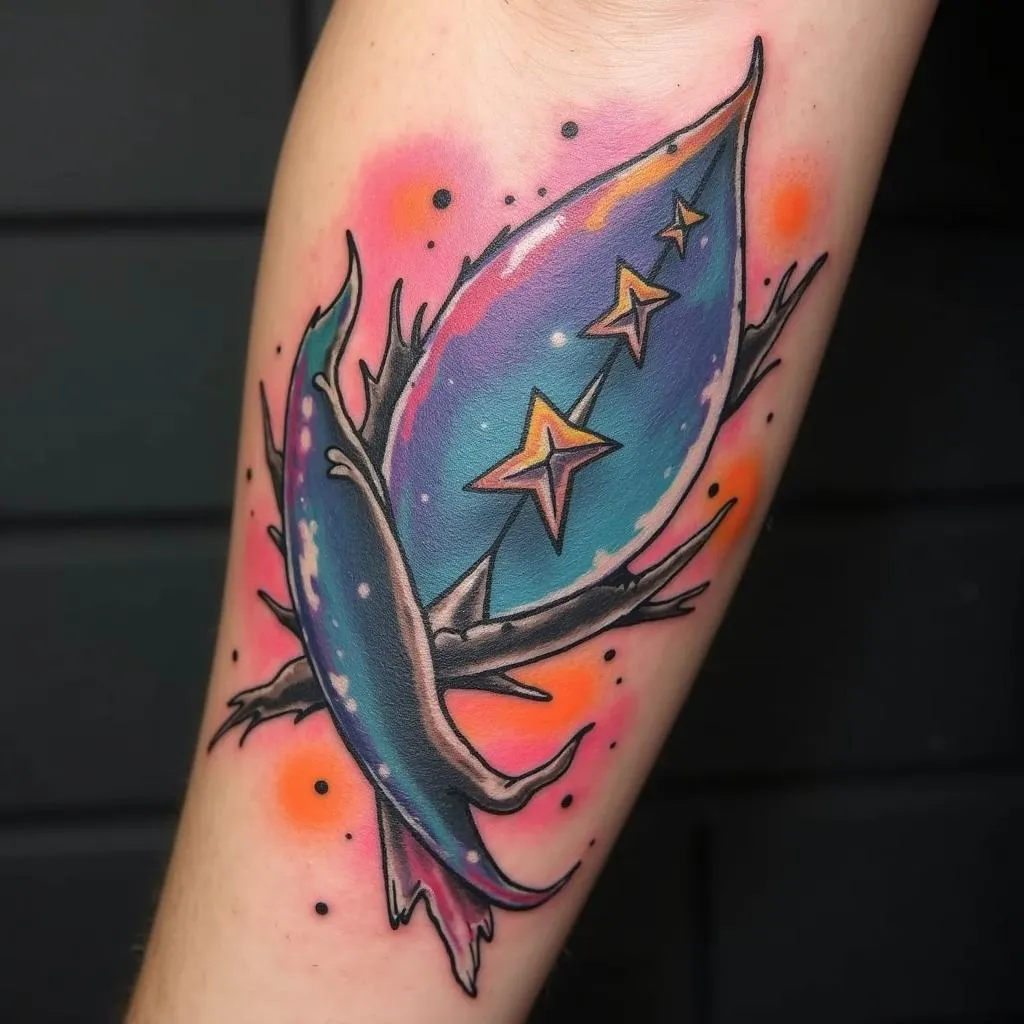 Healed Color Packed Tattoo
Conclusion
Mastering the art of color packing is essential for any tattoo artist aiming to create stunning and long-lasting works of art. By understanding the nuances of this technique, investing in quality supplies, and practicing patience, you can elevate your tattooing skills and bring your artistic visions to life.
FAQs
Q: How long does color packing usually take?
A: The duration varies depending on the size, complexity, and location of the tattoo. Smaller tattoos might take a few minutes to an hour, while larger, more intricate designs could require multiple sessions.
Q: Is color packing more painful than lining?
A: The sensation can vary between individuals. Some describe color packing as a scratching or vibrating sensation, while others might experience it as slightly more intense than lining.
Q: When can I expect my color-packed tattoo to fully heal?
A: Healing time varies, but it generally takes 2-4 weeks for the outer layer of skin to heal and 2-3 months for complete internal healing.
Q: How often should I moisturize my color-packed tattoo?
A: Apply a thin layer of unscented, fragrance-free lotion specifically designed for tattoo aftercare 2-3 times daily or as directed by your tattoo artist.
Q: Can I go swimming after getting a color-packed tattoo?
A: Avoid swimming in pools, oceans, or lakes until your tattoo is fully healed. Chlorine and bacteria present in these bodies of water can increase the risk of infection.
Need Help With Your Tattoo Project?
Contact us at Phone Number: 0373298888, Email: [email protected] Or visit us at 86 Cầu Giấy, Hà Nội. We have a 24/7 customer service team.