Dyeing Easter eggs is a beloved tradition for many families. But perfectly colored eggs start with perfectly boiled eggs! No one wants cracked eggs during their dyeing session. This guide will walk you through how to boil eggs to color for Easter, ensuring your holiday is full of vibrant colors and fun.
Choosing the Right Eggs for Dyeing
While any eggs can be dyed, using older eggs will give you better results. As eggs age, their air pocket inside grows larger. This makes them easier to peel after boiling. Aim for eggs that are about a week old for optimal dyeing.
The Perfect Hard-Boiled Eggs for Dyeing
The key to perfect dyeing lies in properly hard-boiling your eggs. Follow these steps to ensure your eggs are ready to be transformed into colorful masterpieces:
- Gentle Placement: Place the eggs in a single layer at the bottom of a saucepan. Avoid overcrowding the pot.
- Cold Water Start: Add enough cold water to cover the eggs by about an inch.
- Slow and Steady Heating: Bring the water to a rolling boil over medium heat.
- Simmer Time: Once boiling, turn off the heat and cover the pot. Let the eggs sit in the hot water for the following times based on your desired yolk doneness:
- 9 minutes: For firm, fully set yolks ideal for dyeing.
- 6-8 minutes: For slightly softer yolks.
- Ice Bath Shock: Immediately drain the hot water and place the eggs in a bowl of ice water. This stops the cooking process and prevents that dark ring from forming around the yolk.
- Peel and Dye: Once completely cooled, gently tap and roll the eggs on a hard surface to crack the shells. Peel carefully under cool running water for easiest removal.
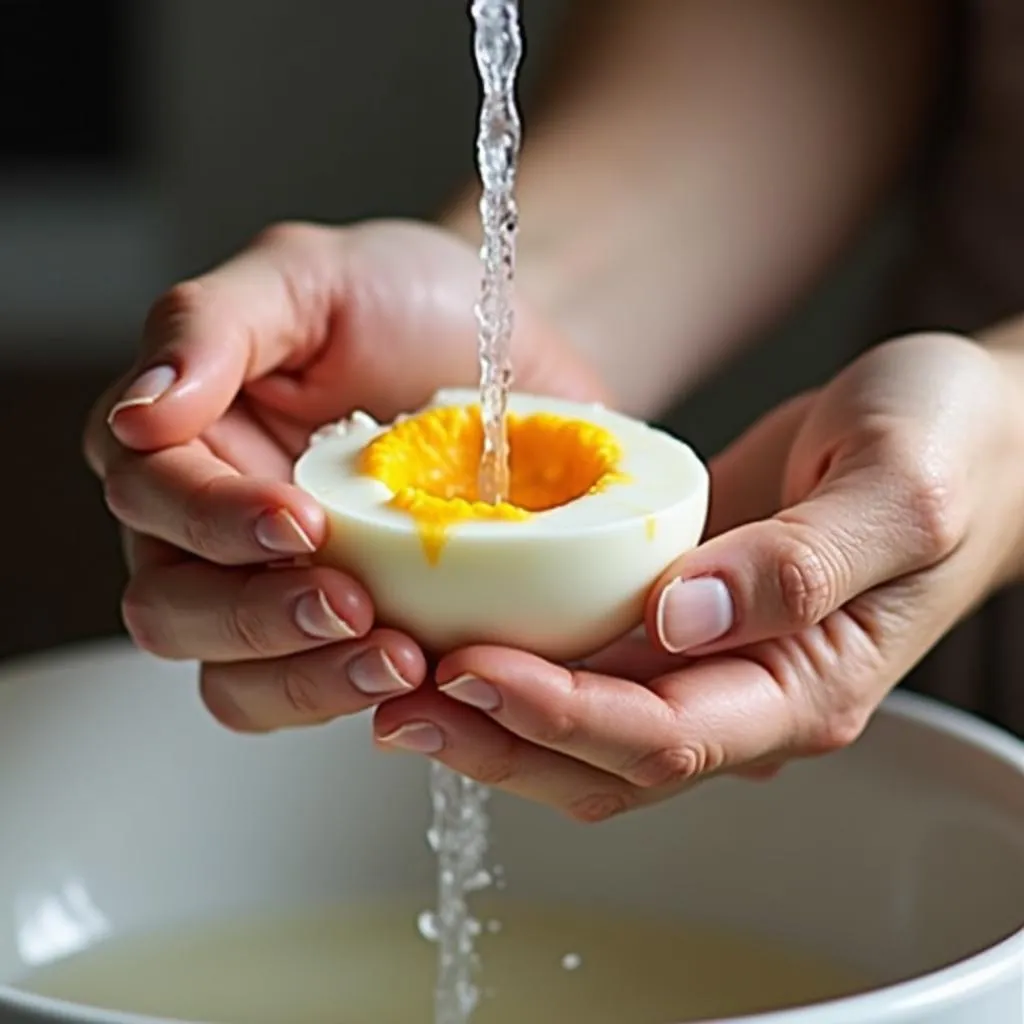 Peeling Hard Boiled Eggs Under Water
Tips for Vibrant Easter Egg Colors
Now that you have your perfectly boiled eggs, it’s time to unleash your inner artist! Here are a few tips for achieving vibrant and long-lasting colors:
- White Eggs: While you can dye brown eggs, white eggs will produce the most vibrant and true-to-color results.
- Vinegar Power: Adding a tablespoon of white vinegar to your dye bath helps the color adhere to the eggshells more effectively.
- Color Saturation: For richer, deeper colors, leave the eggs in the dye bath for longer periods.
- Drying Station: After dyeing, let your eggs dry completely before handling to prevent smudging.
Troubleshooting Your Dyed Easter Eggs
- Cracked Eggs During Boiling: If your eggs crack while boiling, add a teaspoon of salt to the water. This helps prevent cracking and makes peeling easier.
- Pale Colors: If your colors aren’t as vibrant as you’d like, try adding more dye tablets or liquid to the water bath.
- Uneven Coloring: Ensure your eggs are completely submerged in the dye bath for even color distribution.
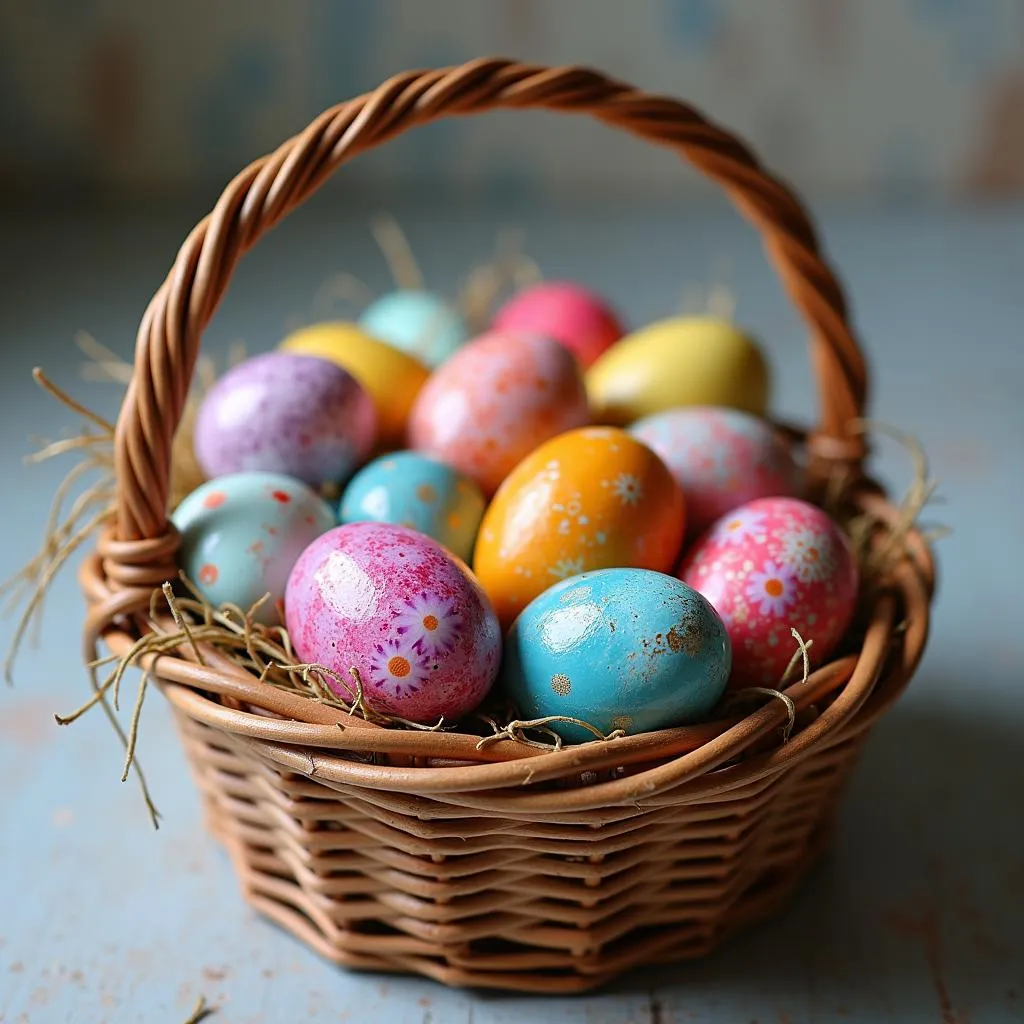 Colorful Dyed Easter Eggs in a Basket
Conclusion
Boiling eggs to color for Easter doesn’t have to be a daunting task! By following these simple steps, you’ll have perfectly cooked eggs ready to be transformed into colorful works of art. So gather your family, put on your creative hats, and let the Easter egg dyeing commence!
Need help with your Easter celebration? Contact us! We have a team available 24/7 to assist you. Call us at 0373298888, email us at [email protected], or visit our store at 86 Cầu Giấy, Hà Nội. Happy Easter!