Changing colors in Adobe Illustrator is a fundamental skill that opens up a world of creative possibilities. Whether you’re a seasoned designer or just starting out, mastering color manipulation is essential for bringing your designs to life. This guide will equip you with various techniques to confidently change colors in Illustrator, empowering you to achieve stunning results.
Understanding Color in Illustrator
Before diving into the how-to, it’s helpful to understand how Illustrator handles color. Illustrator primarily uses two color models:
- CMYK: This model, standing for Cyan, Magenta, Yellow, and Key (Black), is ideal for print designs.
- RGB: This model, representing Red, Green, and Blue, is best suited for digital designs viewed on screens.
Knowing which color model aligns with your project ensures accurate color representation.
Changing Fill and Stroke Colors
The most basic color change in Illustrator involves modifying the fill and stroke of an object.
- Select the Object: Click on the object you want to modify.
- Access the Tools: Locate the Fill and Stroke boxes in the Tools panel or the Color panel.
- Choose Your Colors: Click on either the Fill or Stroke box to activate it. You can then:
- Select a color from the Swatches panel.
- Double-click the Fill or Stroke box to open the Color Picker and create a custom color.
- Use the Eyedropper tool to sample a color from an existing object.
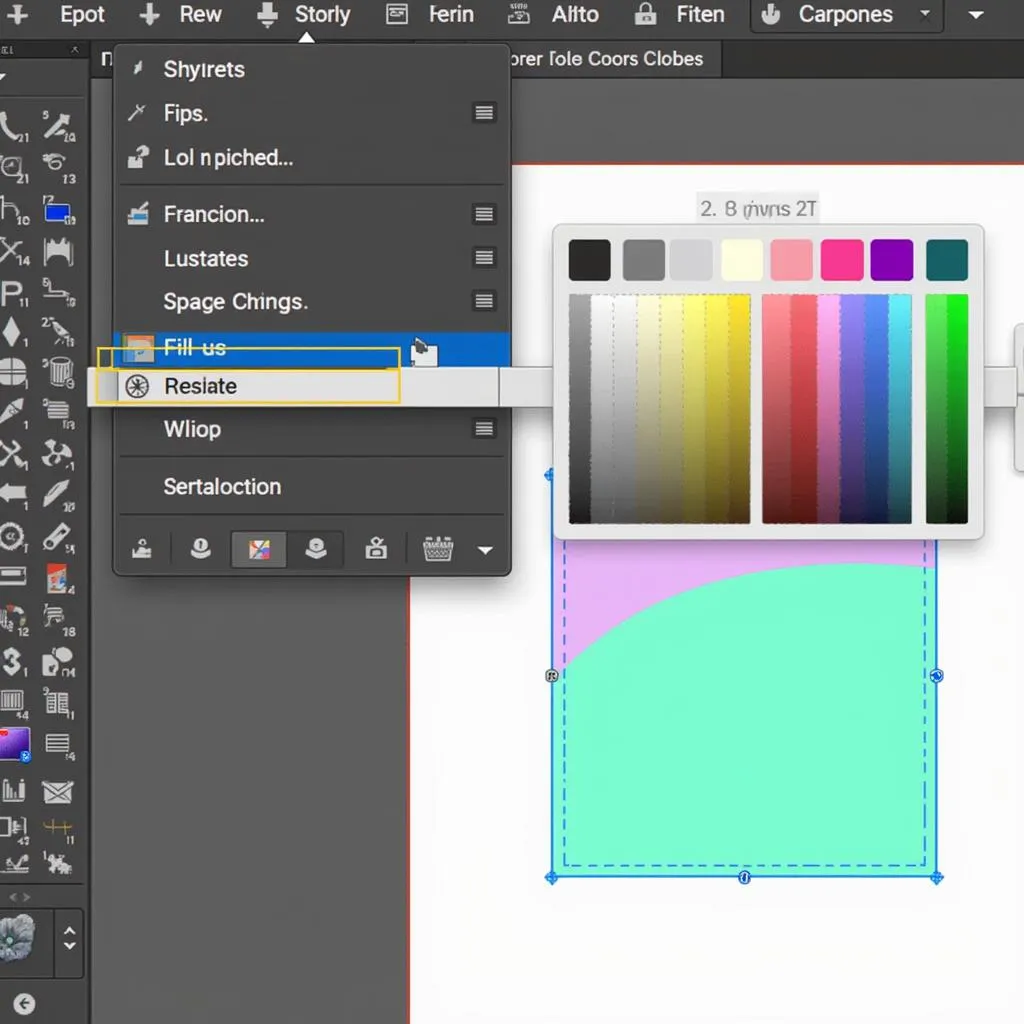 Changing Fill and Stroke
Changing Color of Text
Modifying text color in Illustrator follows a similar process:
- Select the Text: Use the Selection tool to highlight the text you want to recolor.
- Choose Your Color: As with objects, you can select a pre-existing color or create a custom one using the Fill box in the Tools panel or the Color panel.
Utilizing the Recolor Artwork Feature
Illustrator’s Recolor Artwork tool allows for dynamic color adjustments across your design:
- Select Your Object: Click on the object or group of objects you wish to recolor.
- Access Recolor Artwork: Go to Edit > Edit Colors > Recolor Artwork.
- Explore Color Harmonies: The Recolor Artwork panel will open, providing various preset color harmonies. You can choose from these or manually adjust the color wheel to your liking.
 Recolor Artwork Panel in Illustrator
Working with Gradients
Gradients allow for smooth transitions between colors, adding depth to your designs:
- Select the Object: Choose the object you want to apply a gradient to.
- Open the Gradient Panel: Go to Window > Gradient.
- Choose Your Colors: Click on the gradient sliders within the panel to select your desired colors. You can add or remove sliders to create complex gradients.
For a deeper dive into gradients, check out our article on what is a gradient color.
Incorporating Pantone Colors
Pantone colors ensure color accuracy across different mediums, making them essential for professional printing:
- Open the Swatches Panel: Navigate to Window > Swatches.
- Access Pantone Library: Click on the Swatches Library Menu button at the bottom of the panel and choose “Color Books” > “Pantone…”.
- Select Your Color: Browse the available Pantone books and select the desired color. The chosen color will be added to your Swatches panel for easy access.
To learn more about using Pantone colors effectively, visit our guide on how to add pantone color in illustrator.
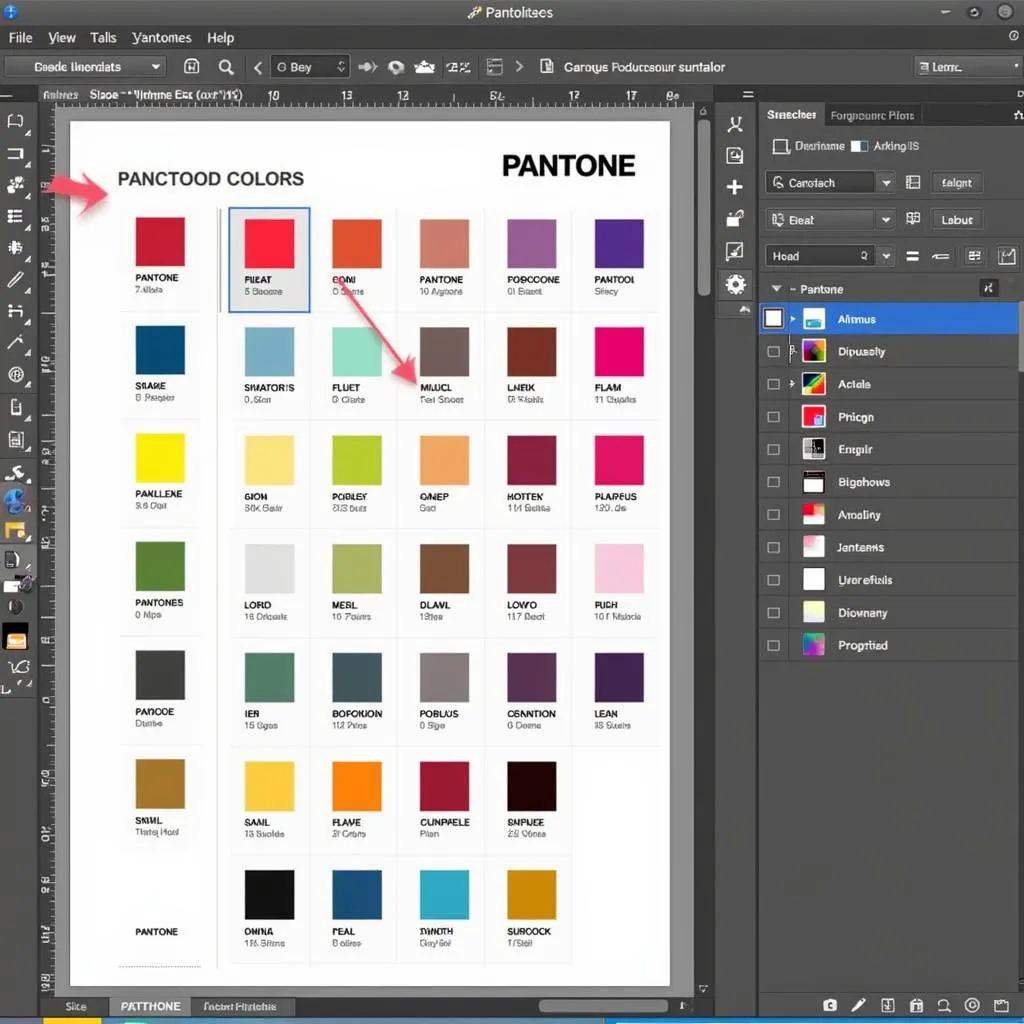 Pantone Swatches Panel in Illustrator
Conclusion
Mastering how to change color in Adobe Illustrator empowers you to transform your creative vision into reality. By understanding the different tools and techniques at your disposal, you can confidently manipulate colors, creating visually stunning designs that captivate your audience. So, go ahead and explore the world of color in Illustrator – your design journey starts now!