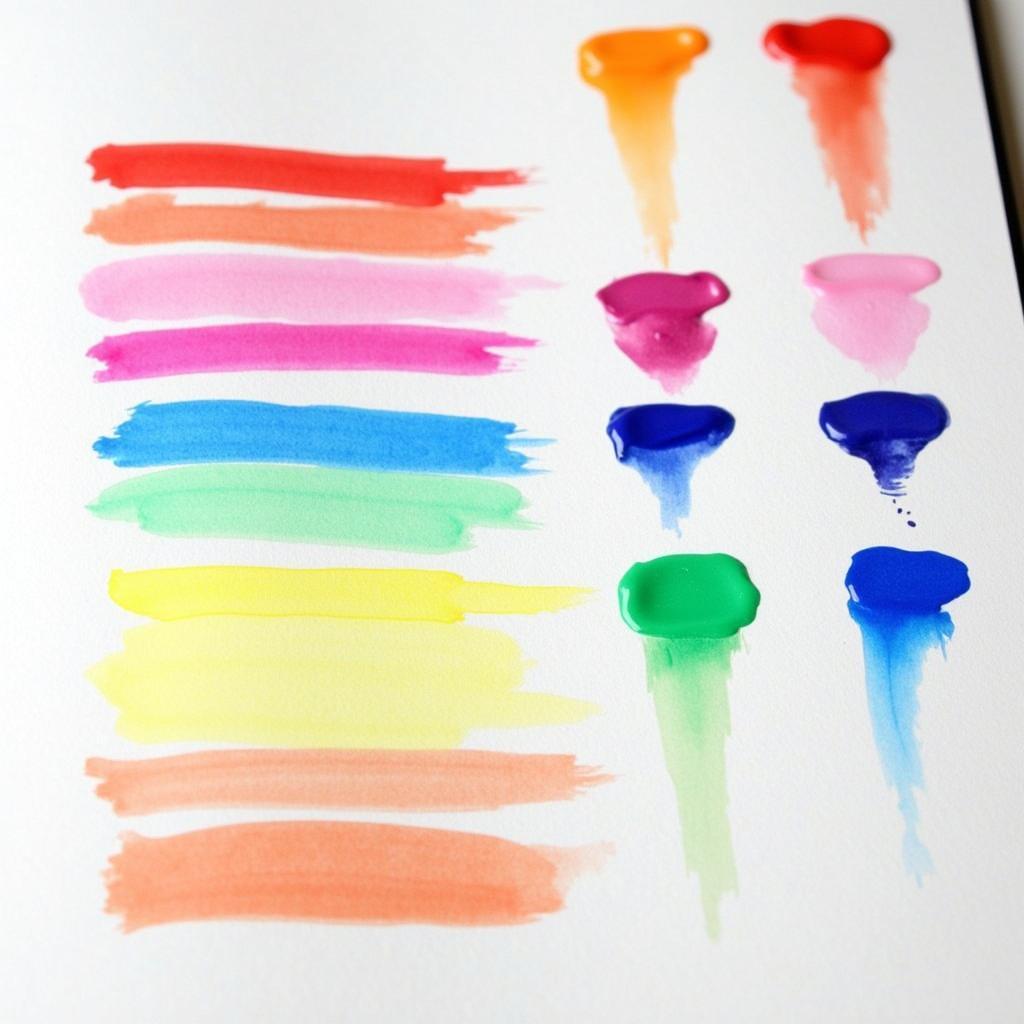
Alcohol markers are a versatile and popular medium for artists of all levels, from beginners to professionals. They offer vibrant colors, smooth blending capabilities, and the ability to create stunning gradients and effects. Whether you’re interested in illustrating, hand lettering, or adult coloring books, learning how to color with alcohol markers can open up a world of creative possibilities.
This guide will walk you through the basics of using alcohol markers, from choosing the right paper to advanced blending techniques. We’ll also share tips and tricks to help you achieve professional-looking results and avoid common mistakes.
Understanding Alcohol Markers
Before we dive into the techniques, let’s understand what makes alcohol markers unique. Unlike water-based markers, alcohol markers use alcohol-based inks that dry quickly and permanently. This allows for layering and blending colors without worrying about reactivating previous layers. Alcohol inks are also translucent, meaning you can build up color intensity gradually for a more controlled approach.
Essential Supplies for Coloring with Alcohol Markers
To get started with alcohol markers, you’ll need a few essential supplies:
- Alcohol Markers: There are various brands available, each with its own unique color palettes and nib types. Some popular choices include Copic, Prismacolor, and Ohuhu.
- Marker Paper: Using the right paper is crucial for preventing bleeding and achieving smooth blending. Look for paper specifically designed for alcohol markers or smooth, thick cardstock.
- Blending Solution: This liquid helps to soften and blend colors, creating seamless transitions.
- Fineliners: These pens are perfect for outlining, adding details, and lettering. Choose waterproof and fade-proof fineliners to prevent smudging when coloring over them with alcohol markers.
Basic Alcohol Marker Techniques
Once you have your supplies ready, you can start experimenting with these fundamental techniques:
1. Layering:
Start by applying a light layer of your base color. Allow it to dry completely before adding subsequent layers. This gradual buildup of color creates depth and dimension.
2. Blending:
To blend two or more colors seamlessly, apply the lighter color first, followed by the darker color. Use a light touch and overlap the colors slightly. For a smoother blend, you can use a blending solution or a colorless blender marker.
3. Creating Gradients:
Gradually transition from one color to another by applying the lighter color to one area and the darker color to the opposite end. Blend the colors where they meet, using a light touch and circular motions.
 Alcohol Marker Blending Techniques
Advanced Tips and Tricks
Elevate your alcohol marker artwork with these advanced techniques:
-
Stippling: Create texture and depth by applying small dots of color with the marker tip. Vary the dot size and density to achieve different effects.
-
Hatching and Cross-Hatching: Use parallel lines to build up color and create shading. Cross-hatching involves layering lines in different directions for a denser, more textured look.
-
Using a Light Box: For intricate details and precise coloring, use a lightbox to trace your outlines and ensure clean lines.
-
Experimenting with Different Nibs: Alcohol markers come with various nib types, such as bullet, chisel, and brush tips. Each nib offers unique strokes and effects. Experiment with different nibs to find what works best for your style.
Common Mistakes to Avoid
Here are some common pitfalls to avoid when working with alcohol markers:
-
Using the Wrong Paper: Using paper not designed for alcohol markers can lead to bleeding, feathering, and uneven color application.
-
Overworking the Ink: Pressing too hard or going over the same area repeatedly can damage the paper and create muddy colors.
-
Not Letting Layers Dry: Applying new layers before the previous ones are dry can cause colors to blend uncontrollably and create a messy look.
Conclusion
Mastering the art of coloring with alcohol markers takes practice and experimentation. By understanding the basic techniques, exploring advanced tips, and avoiding common mistakes, you can create stunning artwork with vibrant colors, seamless blends, and intricate details. Remember to have fun with the process, let your creativity flow, and enjoy the journey of bringing your artistic vision to life with the magic of alcohol markers!
FAQ
1. What is the best way to clean alcohol marker tips?
To clean alcohol marker tips, simply scribble on a scrap piece of paper until the ink runs clear.
2. Can I use alcohol markers on canvas?
While possible, using alcohol markers on canvas is not recommended as the inks can bleed through the fabric.
3. How do I prevent my alcohol markers from drying out?
Store your alcohol markers horizontally and ensure the caps are securely closed after each use to prevent them from drying out.
4. Can I mix different brands of alcohol markers?
While you can mix different brands, it’s essential to test the colors on a scrap piece of paper first, as the blending properties and color vibrancy may vary.
5. Are alcohol markers safe for children?
Alcohol markers are not recommended for young children due to the strong odor and permanent nature of the inks.
For more creative inspiration and tutorials, explore our other articles on how to use alcohol markers and colored pencils and what to use to color adult coloring books.
Discover the endless possibilities of alcohol markers and unleash your artistic potential!
Need help with your next art project? Contact us at Phone Number: 0373298888, Email: [email protected], or visit us at 86 Cầu Giấy, Hà Nội. Our dedicated customer support team is available 24/7 to assist you.