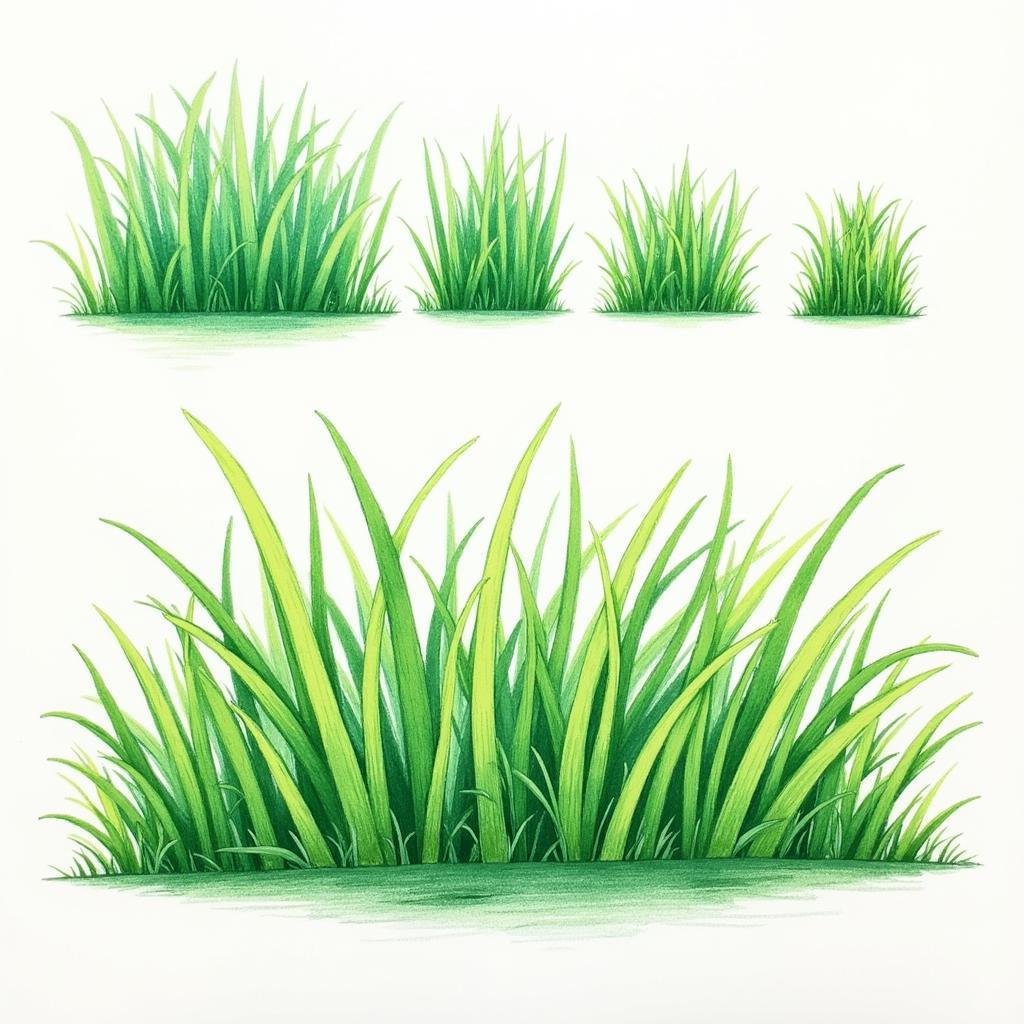
Drawing realistic grass with colored pencils can seem daunting, but with the right techniques and a little patience, you can create vibrant and textured grassy landscapes. This guide will take you through the process step-by-step, from choosing the right materials to adding the final details.
Understanding the Basics of Grass
Before diving into the drawing process, it’s crucial to understand the fundamental characteristics of grass. Observing real grass is the best way to familiarize yourself with its various forms and colors. Notice how individual blades overlap, bend, and create shadows. Consider the different shades of green present and how light affects their appearance. This careful observation will be invaluable when you start drawing.
Gathering Your Materials
Having the right tools will significantly enhance your drawing experience. You’ll need a set of quality colored pencils. Investing in a good set is worthwhile as they offer a wider range of colors and better pigment saturation. A sharpener is essential for maintaining a fine point, allowing for detailed work. Smooth drawing paper is recommended for colored pencils as it allows for better blending and layering. Finally, a good eraser is useful for correcting mistakes and creating highlights.
Starting with Light Strokes
Begin by lightly sketching the general shape of the grassy area you wish to portray. Avoid pressing too hard with your pencil at this stage. Use a light green or yellow-green to lay down the base color. This initial layer will serve as a foundation for subsequent layers of color. Remember, [how to draw with colored pencil] involves layering colors gradually to achieve depth and realism.
Building Layers and Texture
Once you have the base layer, start adding darker shades of green to create depth and dimension. Short, upward strokes will mimic the appearance of individual blades of grass. Vary the length and direction of your strokes to create a more natural and less uniform look. This is where your initial observation of real grass comes into play. Remember to overlap the strokes, just as real blades of grass would. This layering technique is fundamental to [how to draw grass with colored pencils].
Adding Depth and Shadows
To further enhance the realism, incorporate shadows and highlights. Use darker greens, browns, and even blues to create the shadows between the blades of grass. Apply these darker colors in areas where light would be less intense. Conversely, use lighter greens and yellows to create highlights where the light hits the grass directly. This interplay of light and shadow will give your drawing a three-dimensional appearance. If you’re new to colored pencils, you might find it helpful to learn more about general colored pencil techniques by exploring resources like [how to draw with colored pencils].
 Layering and Blending Techniques for Drawing Realistic Grass
Refining the Details
Once you are satisfied with the overall texture and depth of your grass, you can start refining the details. Add individual blades of grass that stand out, perhaps catching the light or bending in a particular way. This will add a sense of movement and life to your drawing. Consider adding other elements to your drawing, such as flowers, rocks, or even insects, to create a more complete and engaging composition.
Tips and Tricks for Drawing Grass
- Vary your pressure: Applying different pressure levels with your colored pencils will create variations in color intensity.
- Blend colors smoothly: Using a colorless blender pencil can help to smooth out the transitions between colors.
- Experiment with different greens: Don’t be afraid to use a variety of green hues to achieve a more realistic and nuanced look. Learning [how to sharpen prismacolor colored pencils] will allow you to achieve fine lines and details in your artwork.
- Practice makes perfect: Like any skill, drawing realistic grass takes practice. Don’t be discouraged if your first attempts aren’t perfect. Keep practicing, and you’ll steadily improve your technique. You could also explore other drawing mediums, like [how to draw with colored pencils] to expand your artistic skills.
Conclusion
Drawing grass with colored pencils can be a rewarding experience. By following these steps and practicing regularly, you can create stunningly realistic and vibrant grassy landscapes. Remember to observe real grass carefully, experiment with different techniques, and enjoy the process of bringing your artistic vision to life. The techniques discussed here not only apply to drawing grass but also provide a foundation for other subjects, similar to the principles covered in [how to draw with colored pencils].
FAQ
- What type of paper is best for drawing grass with colored pencils? Smooth drawing paper is ideal.
- How do I create different shades of green? Layer different green colored pencils, varying the pressure to control the intensity.
- How do I prevent my colored pencil drawing from smudging? Use a fixative spray after completing your drawing.
- Can I use water-soluble colored pencils for drawing grass? Yes, you can, but they require a different technique.
- How do I sharpen my colored pencils for fine details? Use a quality sharpener designed for colored pencils, or consider information from resources like [how to sharpen prismacolor colored pencils].
- What other elements can I add to my grass drawing? Consider adding flowers, rocks, trees, or insects.
- How can I learn more about color theory? There are many resources available online and in libraries that explore color theory.
Need help resetting your phone’s color? See [how to reset the color on my phone].
For more drawing tutorials, explore our website’s other articles.
Need personalized guidance? Contact us! Phone: 0373298888, Email: [email protected], or visit us at 86 Cau Giay, Hanoi. Our 24/7 customer service team is ready to assist you.

