Creating your own multi-color vinyl decals can be a fun and rewarding experience. Whether you want to personalize your belongings, create unique gifts, or add a touch of personality to your surroundings, mastering the art of multi-color vinyl decals opens up a world of creative possibilities. This guide will walk you through the process step-by-step, providing you with the knowledge and confidence to bring your colorful visions to life.
Gathering Your Materials
Before you embark on your multi-color vinyl decal journey, it’s essential to gather all the necessary materials. Having everything on hand will streamline the process and prevent any unexpected interruptions. Here’s what you’ll need:
- Vinyl Cutter: This is a key piece of equipment that precisely cuts your designs into the vinyl.
- Adhesive Vinyl in Various Colors: Choose the colors that best suit your design and make sure they are compatible with your vinyl cutter.
- Transfer Tape: This transparent tape helps you lift and transfer your cut vinyl designs onto your desired surface.
- Weeding Tools: These tools will help you remove the excess vinyl around your design. A weeding hook or precision tweezers work well.
- Cutting Mat: A sticky cutting mat will keep your vinyl in place while cutting.
- Design Software: You’ll need design software to create or import your desired design. Popular options include Adobe Illustrator and Cricut Design Space.
- Ruler: For measuring and ensuring accurate alignment.
- Scraper Tool: A scraper tool will help you smooth out air bubbles and ensure the vinyl adheres properly.
- Rubbing Alcohol and a Lint-Free Cloth: Used to clean your chosen surface before applying the decal.
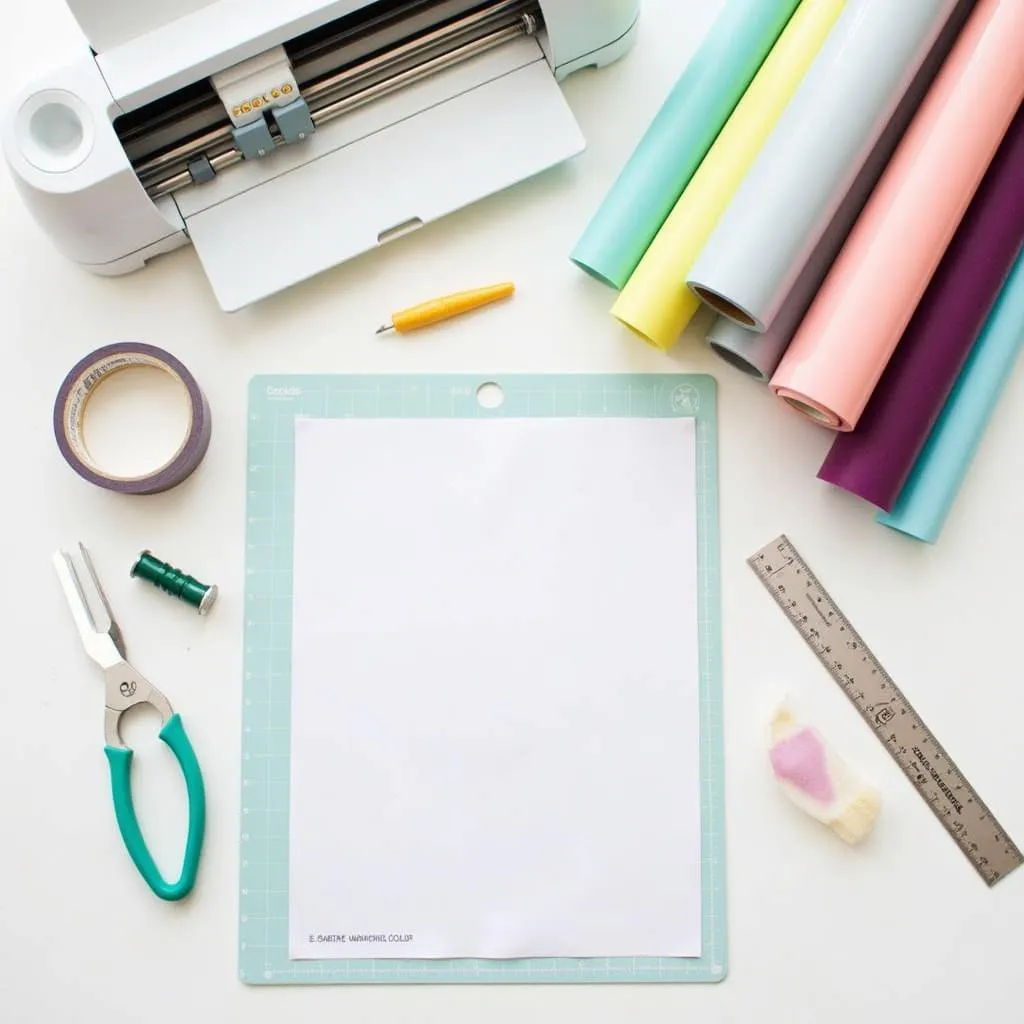 Essential Materials for Creating Multi-Color Vinyl Decals
Creating Your Design
The design phase is where your creativity comes to life. Whether you’re using pre-made designs or crafting your own, the following steps will guide you:
- Choose or Create Your Design: Select a design that you love and that aligns with your project goals. If you’re designing from scratch, ensure it’s scalable and suitable for layering different colors.
- Separate the Colors: In your design software, separate each color of your design into its own layer. This is crucial for the layering process later.
- Mirror Your Image: Vinyl cutters cut from the back of the vinyl, so remember to mirror your design before cutting. This ensures your final decal appears correctly.
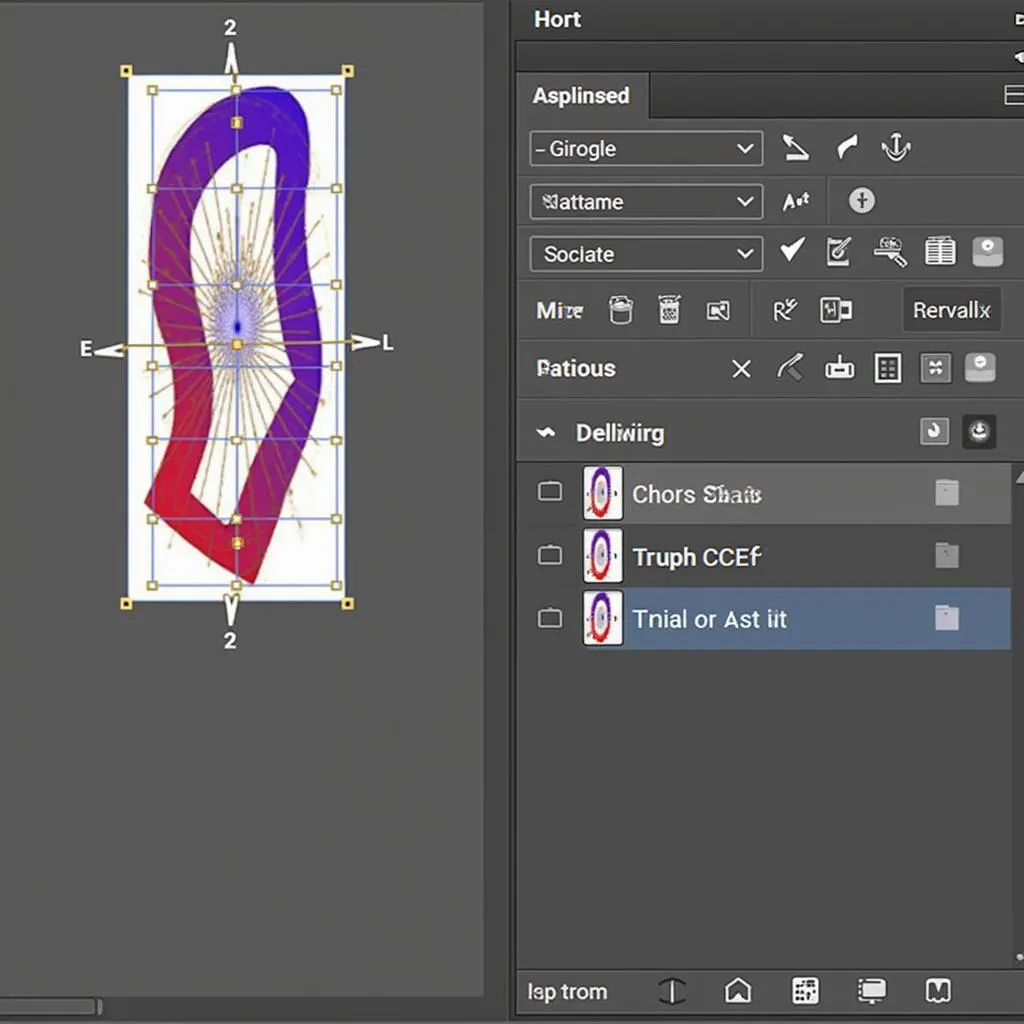 Digital Illustration Depicting the Design Separation Process for a Vinyl Decal
Cutting and Weeding Your Vinyl
With your design ready, it’s time to cut and prepare your vinyl layers:
- Prepare Your Vinyl: Cut a piece of vinyl for each color in your design, ensuring it’s slightly larger than your design dimensions.
- Load and Cut: Following the instructions for your specific vinyl cutter, load each vinyl sheet and send your design to be cut.
- Weed Your Designs: Once cut, carefully use your weeding tools to remove the excess vinyl around your designs, leaving only the parts that will be transferred.
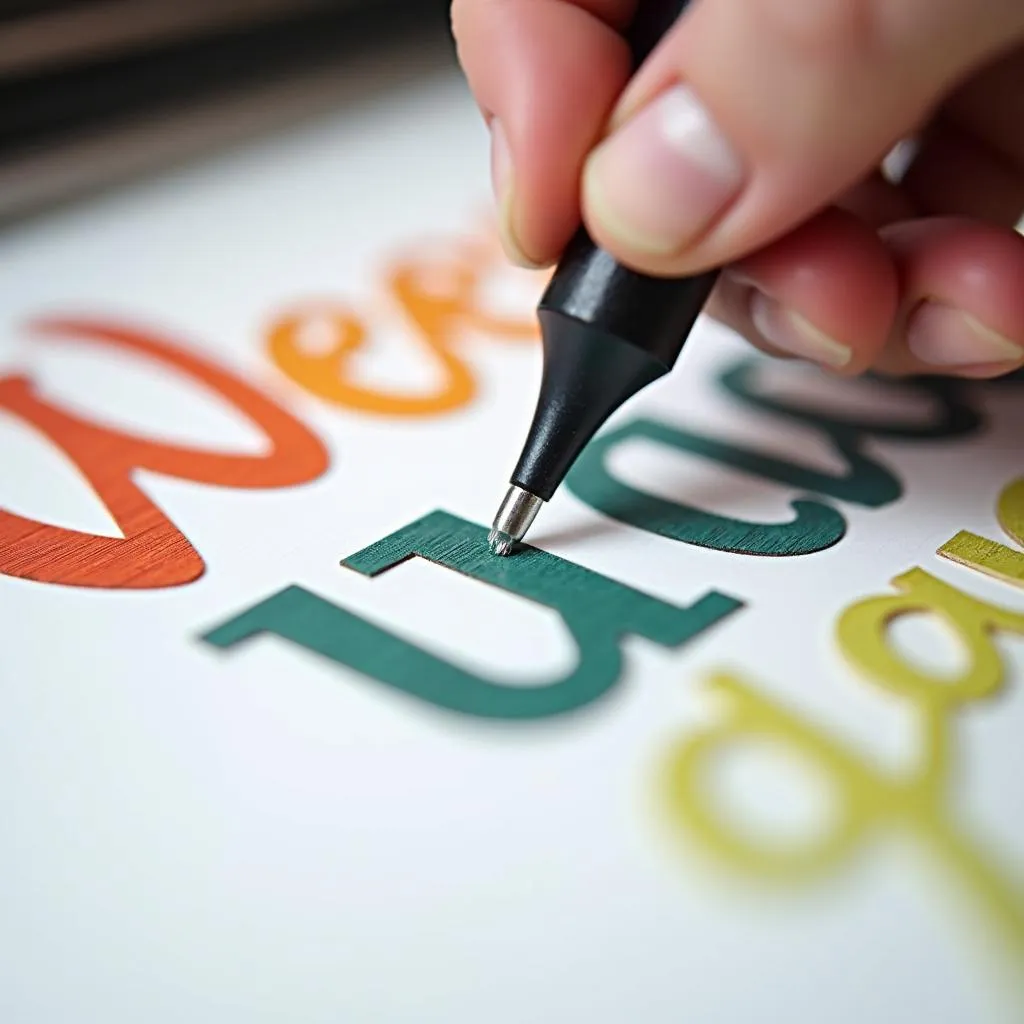 Close-up Shot of Hands Weeding a Multi-Color Vinyl Design
Layering and Applying Your Decal
Now comes the satisfying part – assembling your multi-color masterpiece and applying it to your chosen surface:
- Apply Transfer Tape: Cut a piece of transfer tape slightly larger than your first vinyl layer. Peel away the backing and carefully apply the transfer tape over the weeded vinyl, ensuring it adheres firmly.
- Layer Your Colors: Carefully peel away the backing of the first vinyl layer and align it with the next layer. Use a ruler for precise alignment. Repeat this process for all your color layers.
- Prepare Your Surface: Clean your chosen surface with rubbing alcohol to remove dirt, dust, or oils.
- Apply Your Decal: Carefully position your layered decal on the prepared surface. Use the scraper tool to smooth out any air bubbles and ensure good adhesion.
- Remove Transfer Tape: Slowly peel away the transfer tape at a 45-degree angle, ensuring all the vinyl layers remain on the surface.
Conclusion
Creating multi-color vinyl decals is an enjoyable way to personalize your belongings, craft unique gifts, and add a splash of creativity to your world. With the right tools, materials, and a touch of patience, you can transform ordinary objects into personalized masterpieces. So, gather your supplies, unleash your imagination, and let the vibrant world of multi-color vinyl decals inspire you!
FAQ
- What type of vinyl is best for multi-color decals? Permanent adhesive vinyl is a great choice for long-lasting decals.
- Can I layer more than two colors? Absolutely! You can layer as many colors as your design requires.
- How do I care for my vinyl decal? Avoid harsh chemicals and abrasive cleaners. Gently wipe with a damp cloth when needed.
- Can I remove my vinyl decal later? Yes, vinyl decals can be removed with a bit of heat from a hairdryer or heat gun.
- What surfaces can I apply vinyl decals to? Vinyl decals adhere well to smooth, clean surfaces like glass, laptops, water bottles, and more.
Need Help with Your Project?
Contact our team of design experts at 0373298888, email us at SEO.backlink@gmail.com, or visit us at 86 Cầu Giấy, Hà Nội. We are available 24/7 to assist you.