Creating the perfect peach hue with colored pencils involves more than just grabbing an orange and pink. It’s a delicate dance of layering and blending, requiring an understanding of color theory and a touch of artistic finesse. This guide will unveil the secrets to achieving a vibrant and realistic peach color using colored pencils, transforming your artwork from simple sketches to stunning masterpieces.
Understanding the Peach Palette
Before diving into the practical steps, let’s explore the foundation of peach. This color sits between pink and orange, embodying the warmth of summer and the sweetness of the fruit it’s named after. Its complexity comes from subtle undertones, often influenced by hints of yellow and even a touch of red. To achieve a realistic peach, you need to understand how these colors interact. Think about the variations in a ripe peach – the blush of pink on one side, the deeper orange where the sun has kissed it, and the subtle yellow undertones throughout.
Gathering Your Materials
The quality of your colored pencils directly impacts the final result. While student-grade pencils are fine for practice, artist-grade pencils offer richer pigments and smoother blending capabilities, crucial for achieving a lifelike peach. Gather a range of colors, including light and dark pinks, yellows, oranges, and even a light red. A colorless blender pencil can also be a valuable tool for smoothing transitions between colors. Don’t forget a quality paper with a fine tooth that can hold multiple layers of color.
Layering: The Key to Peach Perfection
The secret to achieving a realistic peach lies in layering. Start with the lightest color, usually a pale yellow or cream, laying down a light, even base over the area you want to color. This initial layer acts as the foundation for the subsequent colors. Gradually introduce light pink, focusing on the areas where the peach would naturally have a blush. Then, layer light orange over the yellowish base, building up the intensity slowly. This gradual layering creates depth and dimension, mimicking the natural variations in a ripe peach. Remember, it’s easier to add color than to take it away.
Blending for Seamless Transitions
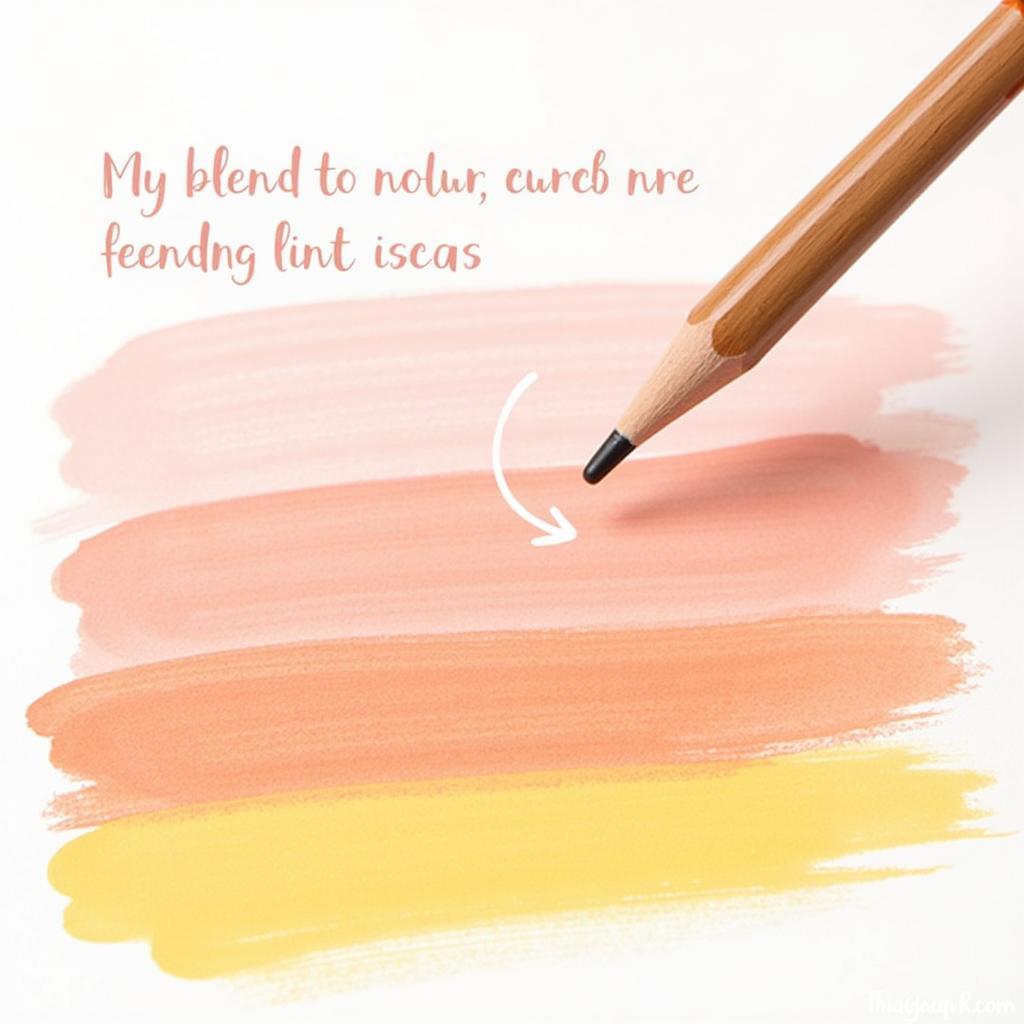
Once you have layered your colors, blending is crucial to create a smooth, seamless transition between them. Using a colorless blender pencil, gently blend the layers together, working in small, circular motions. This will soften the harsh lines between colors and create a more unified peach hue. Alternatively, you can use a light-colored pencil, such as light pink or yellow, to blend, adding a subtle color shift in the process. Experiment with different blending techniques to find what works best for you and the specific peach shade you are trying to achieve.
 Blending Colored Pencils to Create a Seamless Peach Hue
Adding Depth and Dimension
To make your peach truly pop, add depth and dimension with shading and highlighting. Identify the light source and use a darker orange or red to add shadows in the areas furthest from the light. This will create a sense of volume and roundness. Conversely, use a light yellow or white pencil to highlight the areas closest to the light source, enhancing the three-dimensional effect.
How to Make Peach with Colored Pencils: A Step-by-Step Guide
- Lay the Foundation: Start with a light yellow base.
- Add a Blush: Introduce light pink to the areas where you want a blush.
- Build Up the Color: Layer light orange over the yellow base, gradually increasing the intensity.
- Blend Seamlessly: Use a colorless blender or a light-colored pencil to blend the layers together.
- Create Depth: Use darker orange or red to add shadows and a light yellow or white for highlights.
Tips for Peach Perfection
- Experiment with different brands and types of colored pencils to find your favorites.
- Keep your pencils sharp for precise application and blending.
- Practice on scrap paper to test your color combinations and blending techniques before working on your final piece.
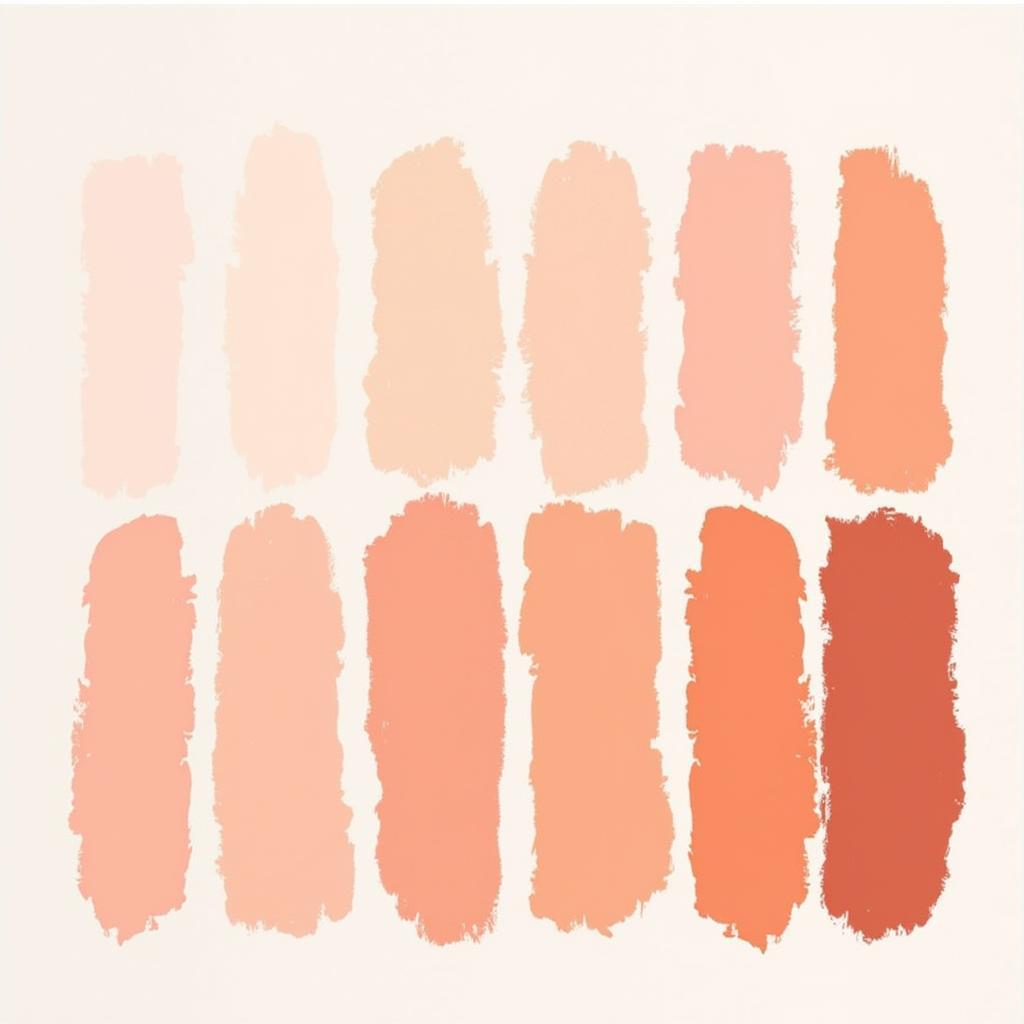
 Different Peach Color Variations Achieved with Colored Pencils
Conclusion
Creating a realistic peach color with colored pencils is a rewarding process that combines technical skill with artistic expression. By understanding the interplay of colors, mastering the art of layering and blending, and paying attention to detail, you can achieve stunning peach hues that bring your artwork to life. Remember to experiment, practice, and, most importantly, have fun! how to make peach with colored pencils
FAQs
- What colored pencils are best for making peach? Artist-grade pencils with rich pigments are recommended.
- Do I need a colorless blender pencil? It’s helpful, but you can also blend with light-colored pencils.
- How do I prevent my colored pencils from breaking? Avoid applying too much pressure and sharpen them carefully. how to store colored pencils
- Can I use this technique on different types of paper? Yes, but a fine-tooth paper is ideal for layering.
- What other colors can I mix with colored pencils? You can create a wide range of colors by mixing different colored pencils. Consider learning how to make pink with colored pencils or exploring other color combinations.
Need more assistance? Contact us: Phone: 0373298888, Email: [email protected], Address: 86 Cầu Giấy, Hà Nội. We have a 24/7 customer service team. You can also learn how to make the color peach with colored pencils or find out what are colored pencils made of on our website.

