Giving your dark furniture a fresh, new look is a great way to brighten up your space. Painting black furniture a lighter color is a popular and rewarding DIY project that can completely transform the look and feel of a room. While the task might seem daunting at first, with the right preparation, techniques, and a touch of creativity, you can achieve professional-looking results. This comprehensive guide will walk you through the entire process, from prepping your furniture to adding those final touches.
Choosing the Right Paint and Supplies
Before you dive into painting your black furniture, you need to gather the necessary supplies and choose the perfect paint for your project.
Paint Selection
- Chalk paint: Known for its excellent adhesion and ability to cover dark surfaces, chalk paint is a great choice for beginners. It requires minimal prep work and offers a beautiful matte finish.
- Mineral Paint: Similar to chalk paint, mineral paint is another excellent option for painting furniture. It offers superior durability and often comes in a wider range of colors.
- Latex paint: Affordable and readily available, latex paint can be used successfully on furniture with proper preparation. Opt for a high-quality latex paint with a built-in primer for best results.
- Acrylic Paint: Known for its versatility, acrylic paint is a good option for detailed work and can be used on various surfaces. Choose an acrylic paint specifically designed for use on furniture for better adhesion and durability.
Essential Supplies
- Sandpaper: You’ll need a variety of sandpaper grits for prepping and smoothing surfaces.
- Primer: Primer is essential for ensuring even paint adhesion and blocking any dark colors from bleeding through.
- Paintbrushes: Choose high-quality brushes in various sizes to accommodate different surfaces and paint types.
- Paint roller: A small foam roller is great for larger, flat surfaces.
- Painter’s tape: Use painter’s tape to protect areas you don’t want to paint.
- Drop cloths: Protect your workspace from paint splatters and spills.
- Cleaning supplies: You’ll need a clean cloth, mild soap, and water to clean your furniture before painting.
Preparing Your Black Furniture
Proper preparation is the key to achieving a smooth and long-lasting paint finish. Skipping this step can lead to uneven paint application and peeling later on.
- Clean: Begin by thoroughly cleaning your furniture with a mild soap and water solution to remove any dirt, grime, or grease. Allow the furniture to dry completely before moving on to the next step.
- Sand: Sanding helps create a rough surface for the primer and paint to adhere to. For glossy surfaces, use a medium-grit sandpaper (120-150 grit). If the surface is already rough or has existing paint, you can start with a finer grit sandpaper (220 grit).
- Repair: If your furniture has any cracks, holes, or imperfections, now is the time to fill them. Use wood filler for minor imperfections and let it dry completely before sanding it smooth.
- Tape off: Use painter’s tape to mask off any areas you don’t want to paint, such as hardware, glass, or trim.
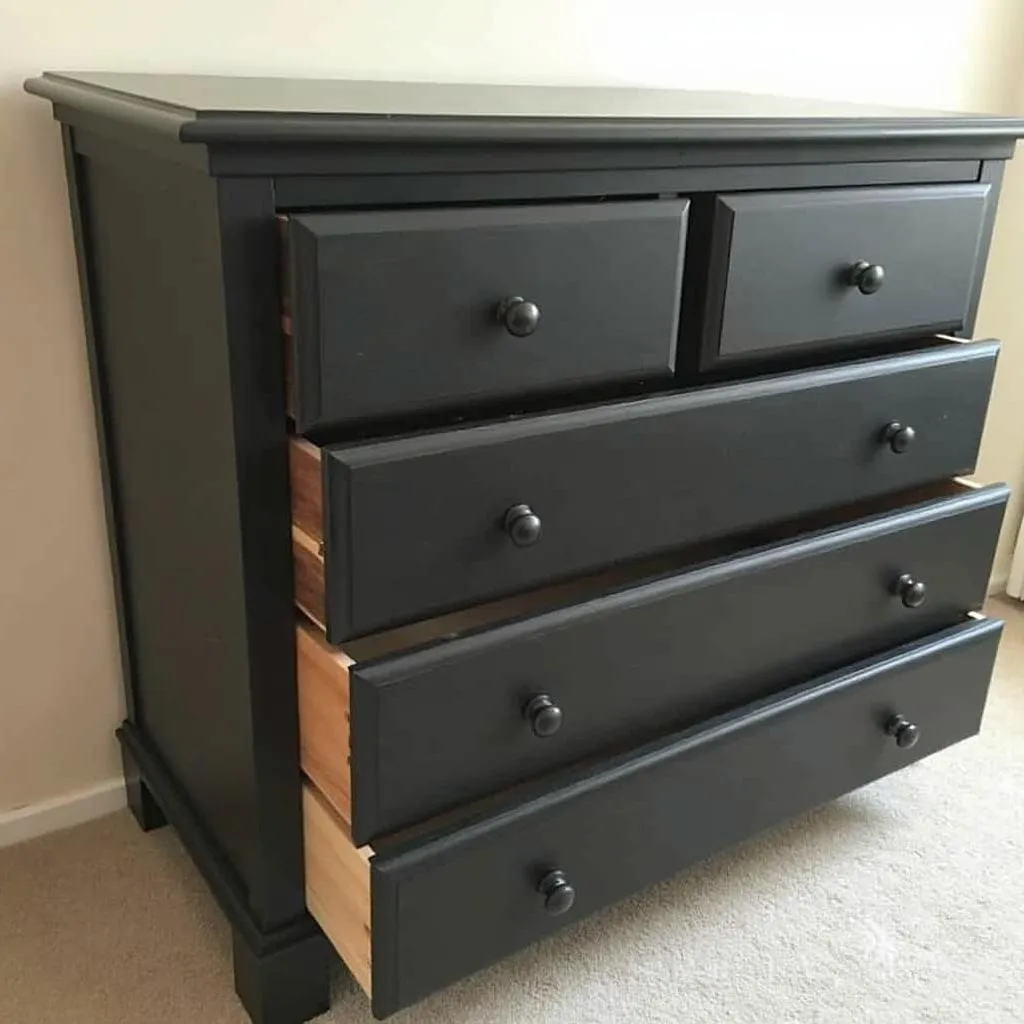 Preparing black furniture for painting
Priming Your Furniture
Applying a primer is crucial when painting black furniture a lighter color. Primer helps to seal the surface, prevent bleed-through, and create a smooth base for the paint.
- Choose the Right Primer: Select a primer specifically designed for the type of paint you’ll be using. If you’re using chalk paint, a chalk paint primer is recommended. For other types of paint, a shellac-based primer or a stain-blocking primer is a good choice.
- Apply the Primer: Using a brush or roller, apply a thin, even coat of primer to the entire surface of your furniture. Make sure to get into all the nooks and crannies.
- Dry Time: Allow the primer to dry completely according to the manufacturer’s instructions. This is usually a few hours.
Painting Your Furniture
Now for the fun part – painting! Follow these steps to achieve a smooth and professional-looking finish:
- Choose the Right Technique: For a smooth, modern look, use a paint roller on larger, flat surfaces. For intricate details or a more textured finish, use a paintbrush.
- Apply the First Coat: Using a brush or roller, apply a thin, even coat of paint to your furniture. Avoid overloading your brush or roller to prevent drips.
- Dry Time: Allow the first coat of paint to dry completely. This will take several hours, depending on the type of paint you’re using.
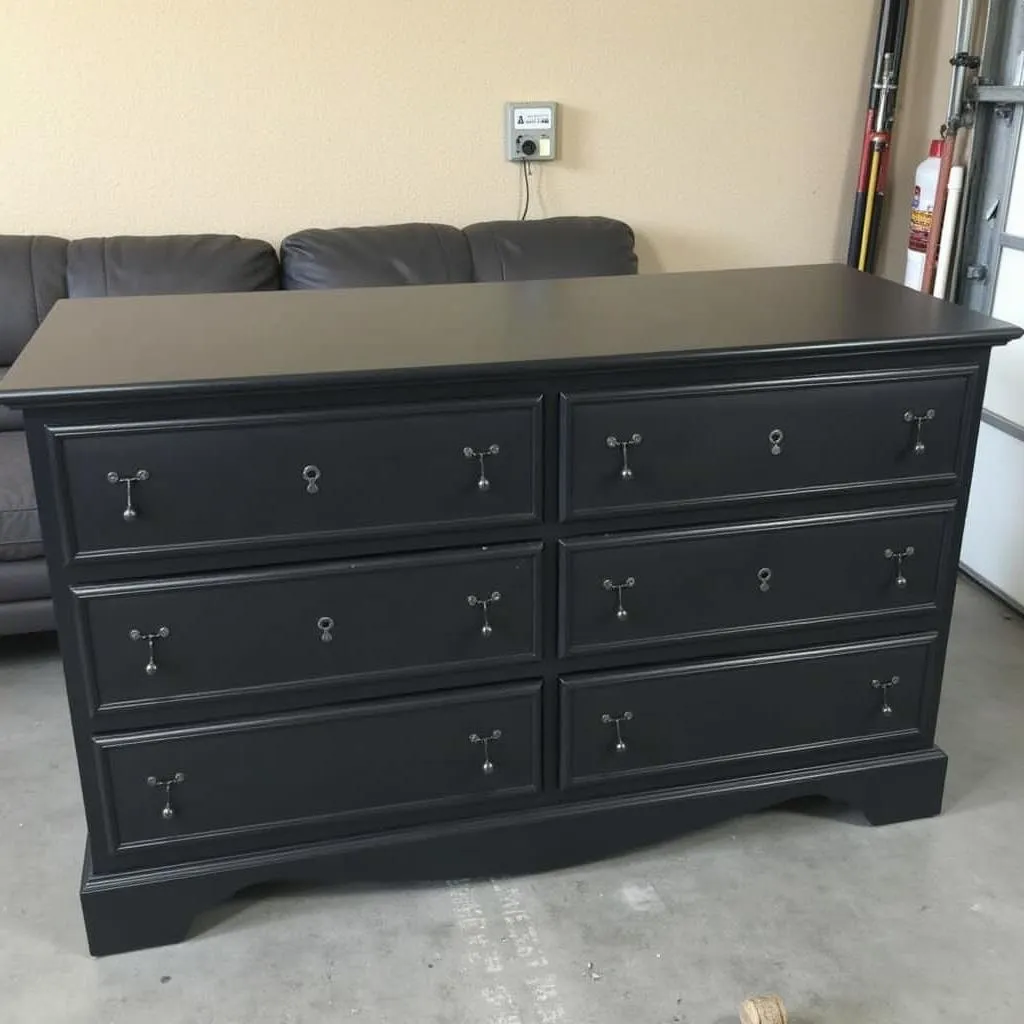 Painting the dresser white
- Apply Additional Coats: For most light colors, you’ll likely need at least two coats of paint to achieve full coverage. Apply each coat in the same manner as the first, allowing each coat to dry completely before applying the next.
Distressing and Finishing Touches
Once your paint is completely dry, you can add some distressing or other finishing touches to personalize your furniture.
- Distressing: To achieve a shabby-chic or rustic look, lightly sand the edges and corners of your furniture to reveal some of the original black paint.
- Wax: Applying a clear or tinted wax can add durability and a subtle sheen to your painted furniture.
- New Hardware: Replace your old hardware with new knobs or pulls to complete the transformation.
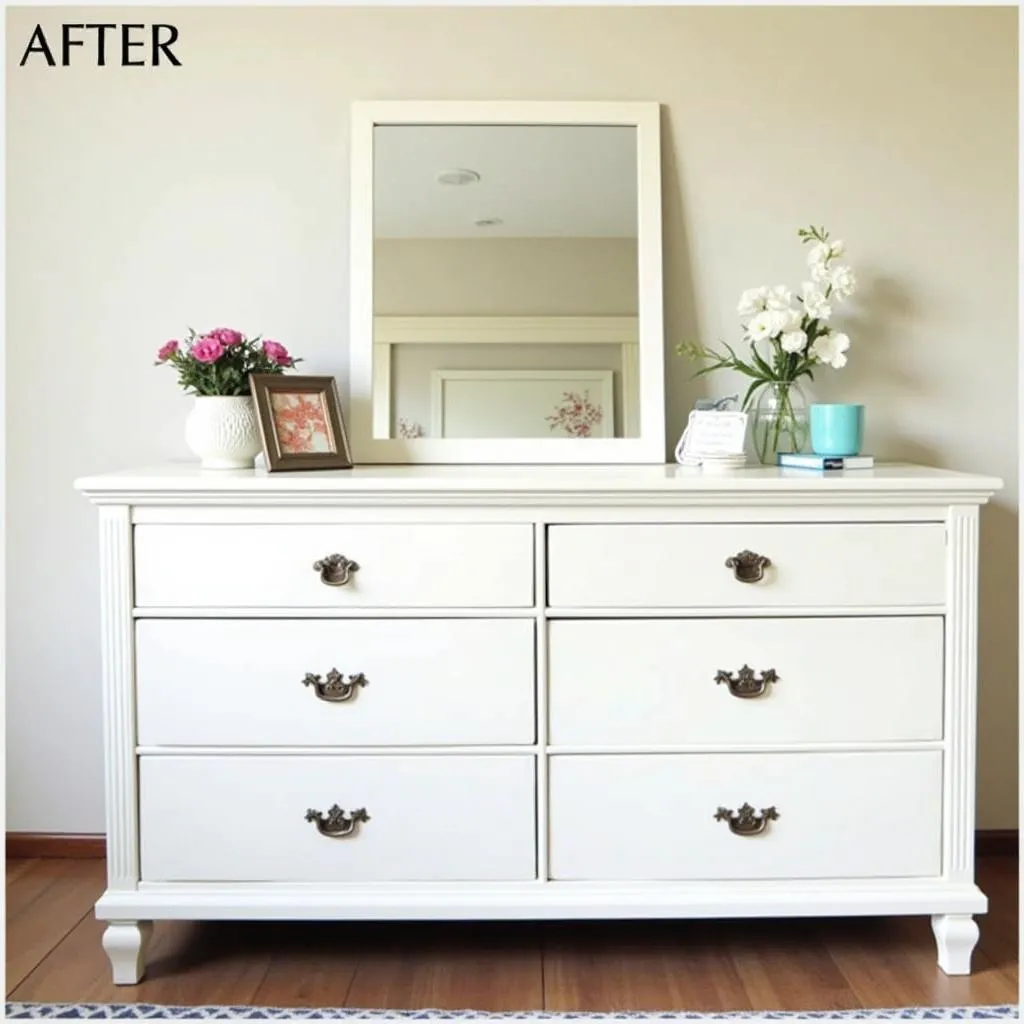 The finished white dresser
Caring for Your Painted Furniture
To keep your newly painted furniture looking its best, follow these simple care tips:
- Allow Curing Time: While your paint may feel dry to the touch, it takes several weeks for paint to fully cure. Avoid placing heavy objects on your furniture or exposing it to excessive moisture during this time.
- Gentle Cleaning: Clean your painted furniture with a soft, damp cloth and avoid using harsh cleaners.
- Touch-Ups: If you notice any chips or scratches, touch them up with a small amount of paint.
Conclusion
Painting black furniture a lighter color can breathe new life into your pieces and transform your living space. With careful preparation, the right supplies, and a bit of patience, you can achieve a beautiful and long-lasting finish that you’ll be proud of. So, gather your supplies, choose your favorite paint color, and get ready to transform your furniture!
FAQ
1. Can I paint over black furniture without sanding?
While sanding is always recommended for best results, some chalk paints and mineral paints allow you to skip sanding if the surface is smooth and non-glossy. However, it’s always best to test a small area first to ensure proper adhesion.
2. How many coats of paint will I need?
The number of coats you’ll need will depend on the type of paint you’re using and the color you’re painting over. For most light colors over black, expect to apply at least two coats.
3. Can I use spray paint to paint my furniture?
Yes, spray paint can be a great option for painting furniture, especially if you want a smooth and even finish. However, it’s important to use spray paint specifically designed for furniture and to work in a well-ventilated area.
4. What type of finish should I choose for my painted furniture?
The type of finish you choose will depend on the look and durability you desire. Matte finishes offer a more modern look, while satin and gloss finishes are more durable and easier to clean.
5. How can I protect my painted furniture from scratches?
Applying a clear wax or polyurethane sealant can help protect your painted furniture from scratches and wear and tear.
Need More Help?
Have more questions about painting black furniture or other color-related dilemmas? We’re here to help! Contact us at 0373298888, email [email protected], or visit our showroom at 86 Cầu Giấy, Hà Nội. Our team of color experts is available 24/7 to assist you with all your painting needs.
You can also check out our other helpful articles on our website, such as how to make the color navy blue with paint, what is ochre color, and which color.
Don’t forget to explore our stunning collection of paint colors and find the perfect shade for your next project. We’re passionate about helping you create a beautiful and inspiring home, one color at a time.